I'm so glad you're here! I want nothing more than to inspire and encourage you to create a home & style you love & deserve!
Welcome!
free resources
If you follow me on instagram, you saw that OUR HARDWOODS ARE IN!! We’re so excited!! And now it’s time to picks stains/colors!
I’ve been pretty confident with the paint colors I’ve picked out, but I keep second guessing myself of the stains. Funny how when you’re designing for your own home every decision becomes harder .
So being a visual person, and OCD about needing colors/tones complimenting each other, I decided I needed to test it out myself!
Once I picked the color I liked best out of my own samples, I was able to give the guys a selection to then test out on our actual floors! And OH MAN I’m happy with it!
So if you’re wanting to do that same thing (highly suggest doing this) keep reading to see exactly what to do!
WHAT YOU”LL NEED:
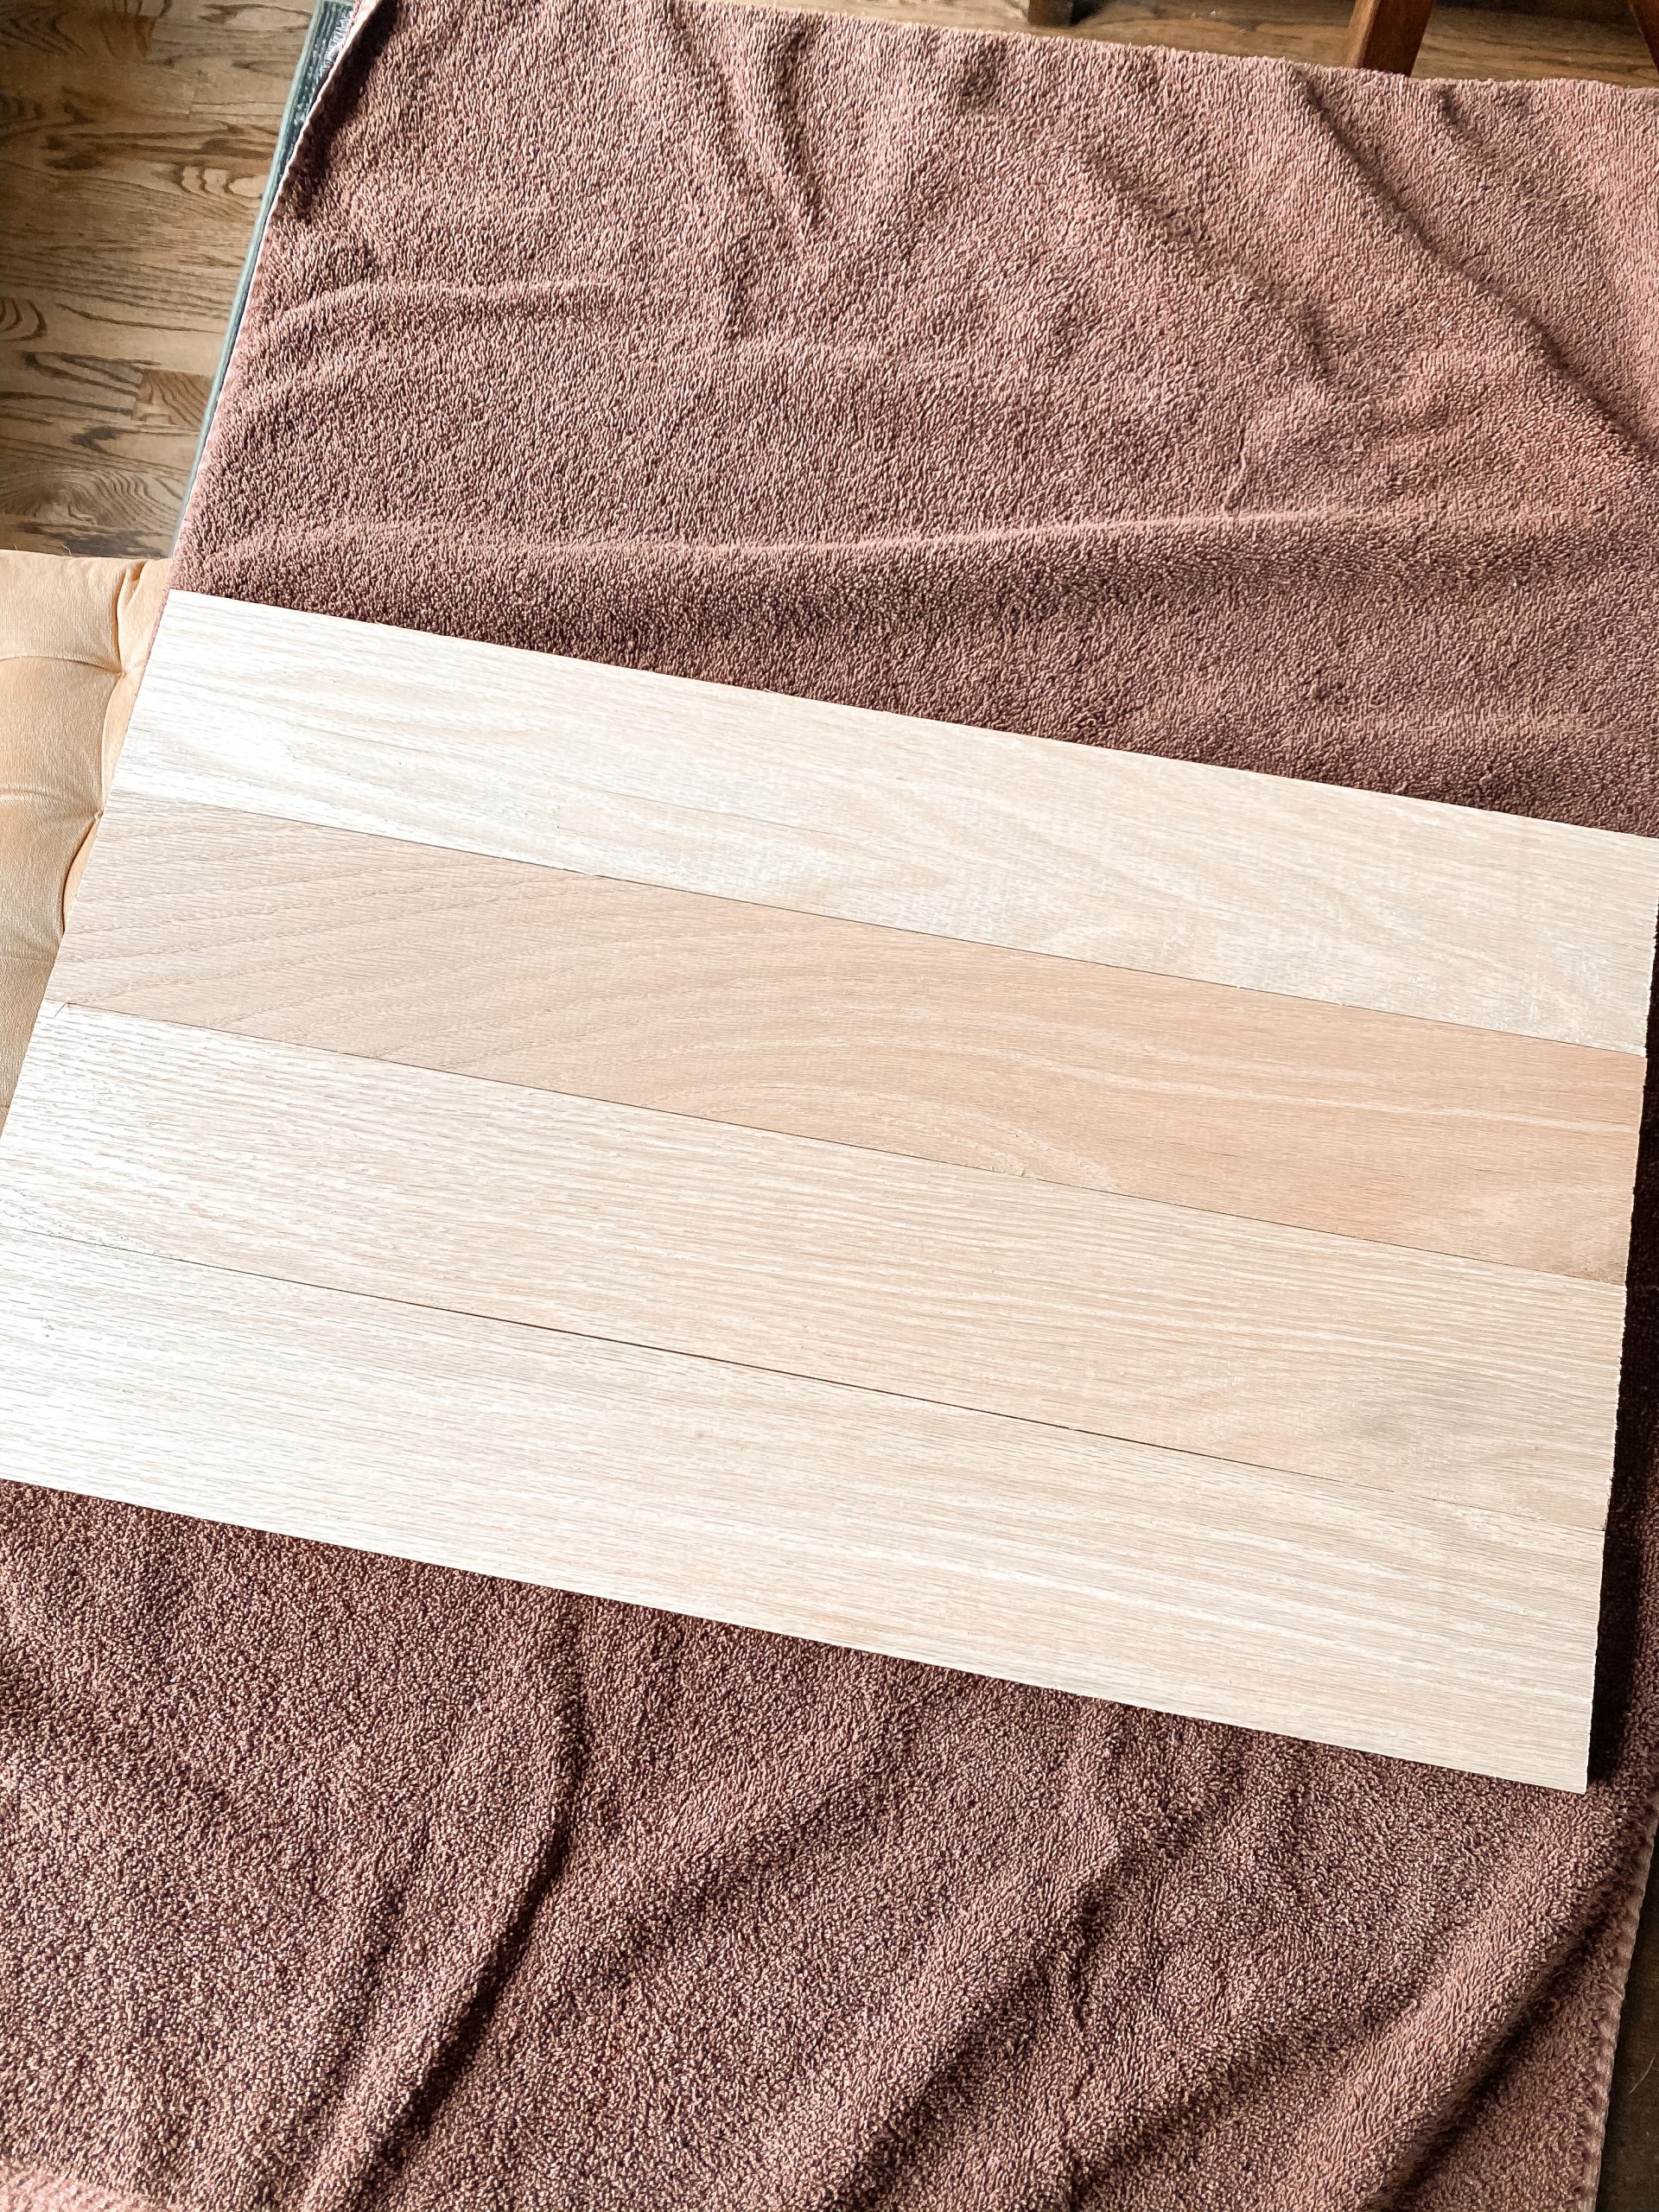
at least 4 boards of your type of wood (hardwoods have variations in color, so this is to make sure you get a good mixture of tones).
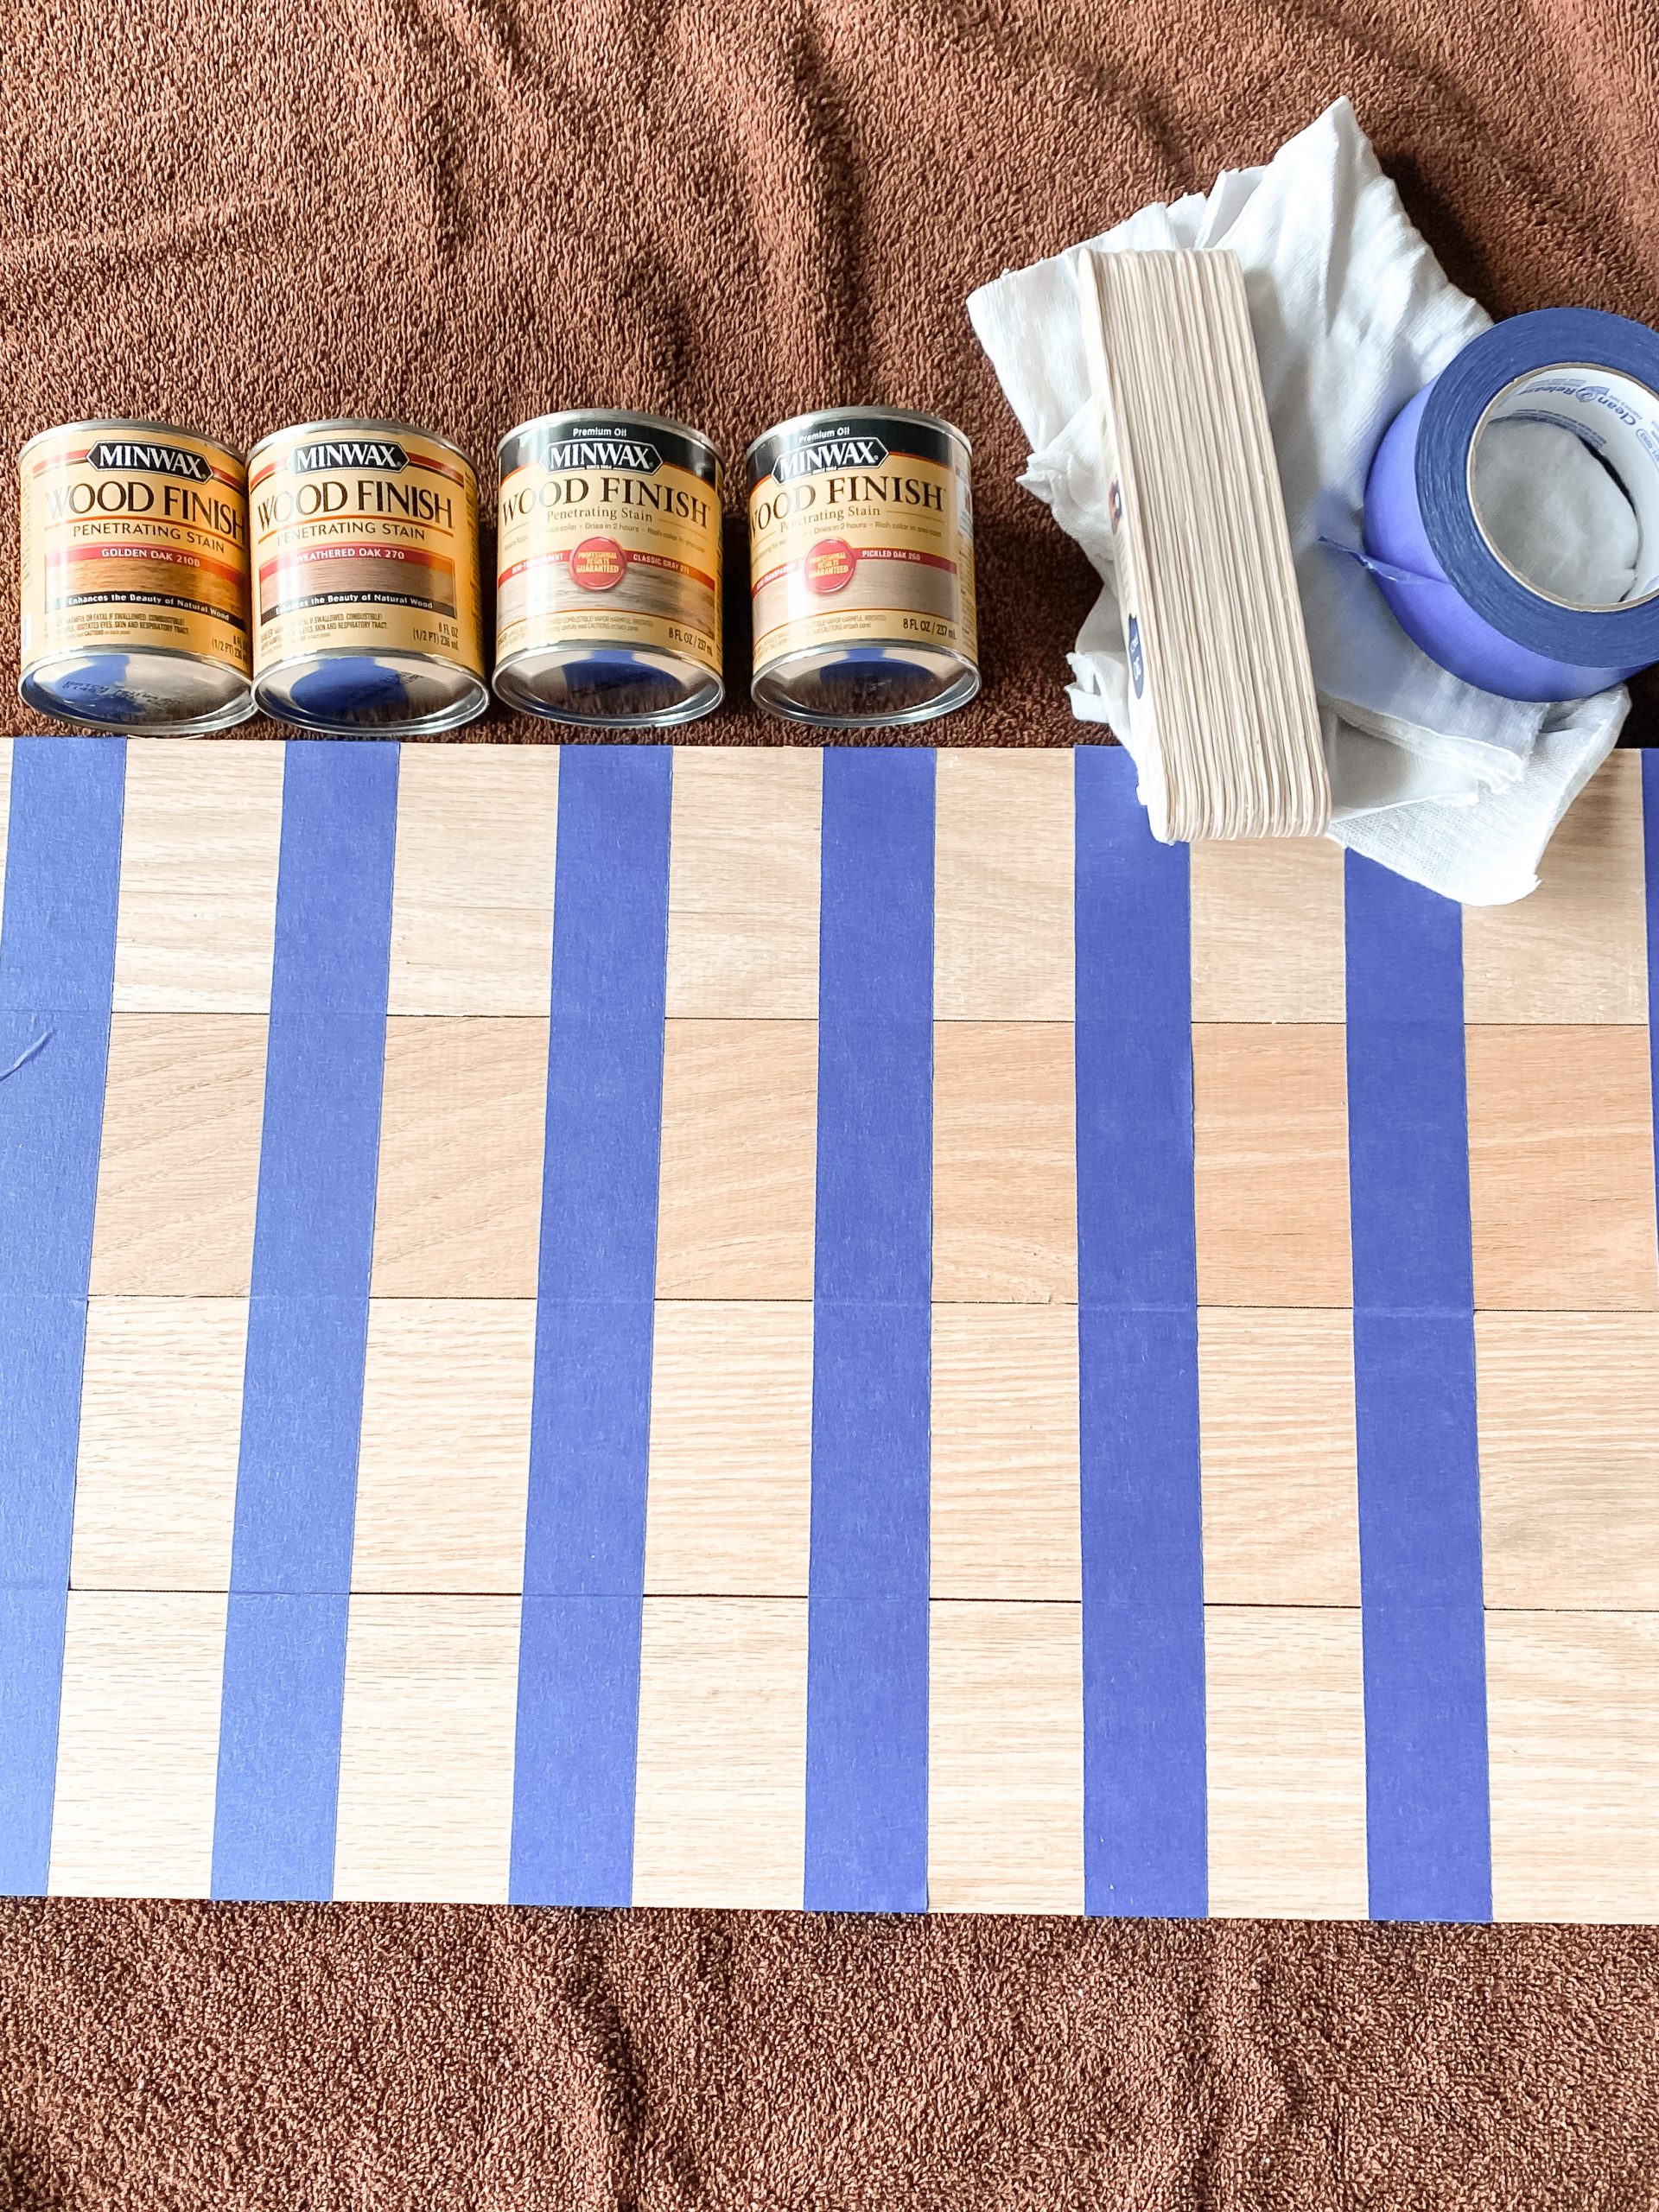
painters tape
mixing sticks
lent free cloth
stain of choice
WHAT TO DO:
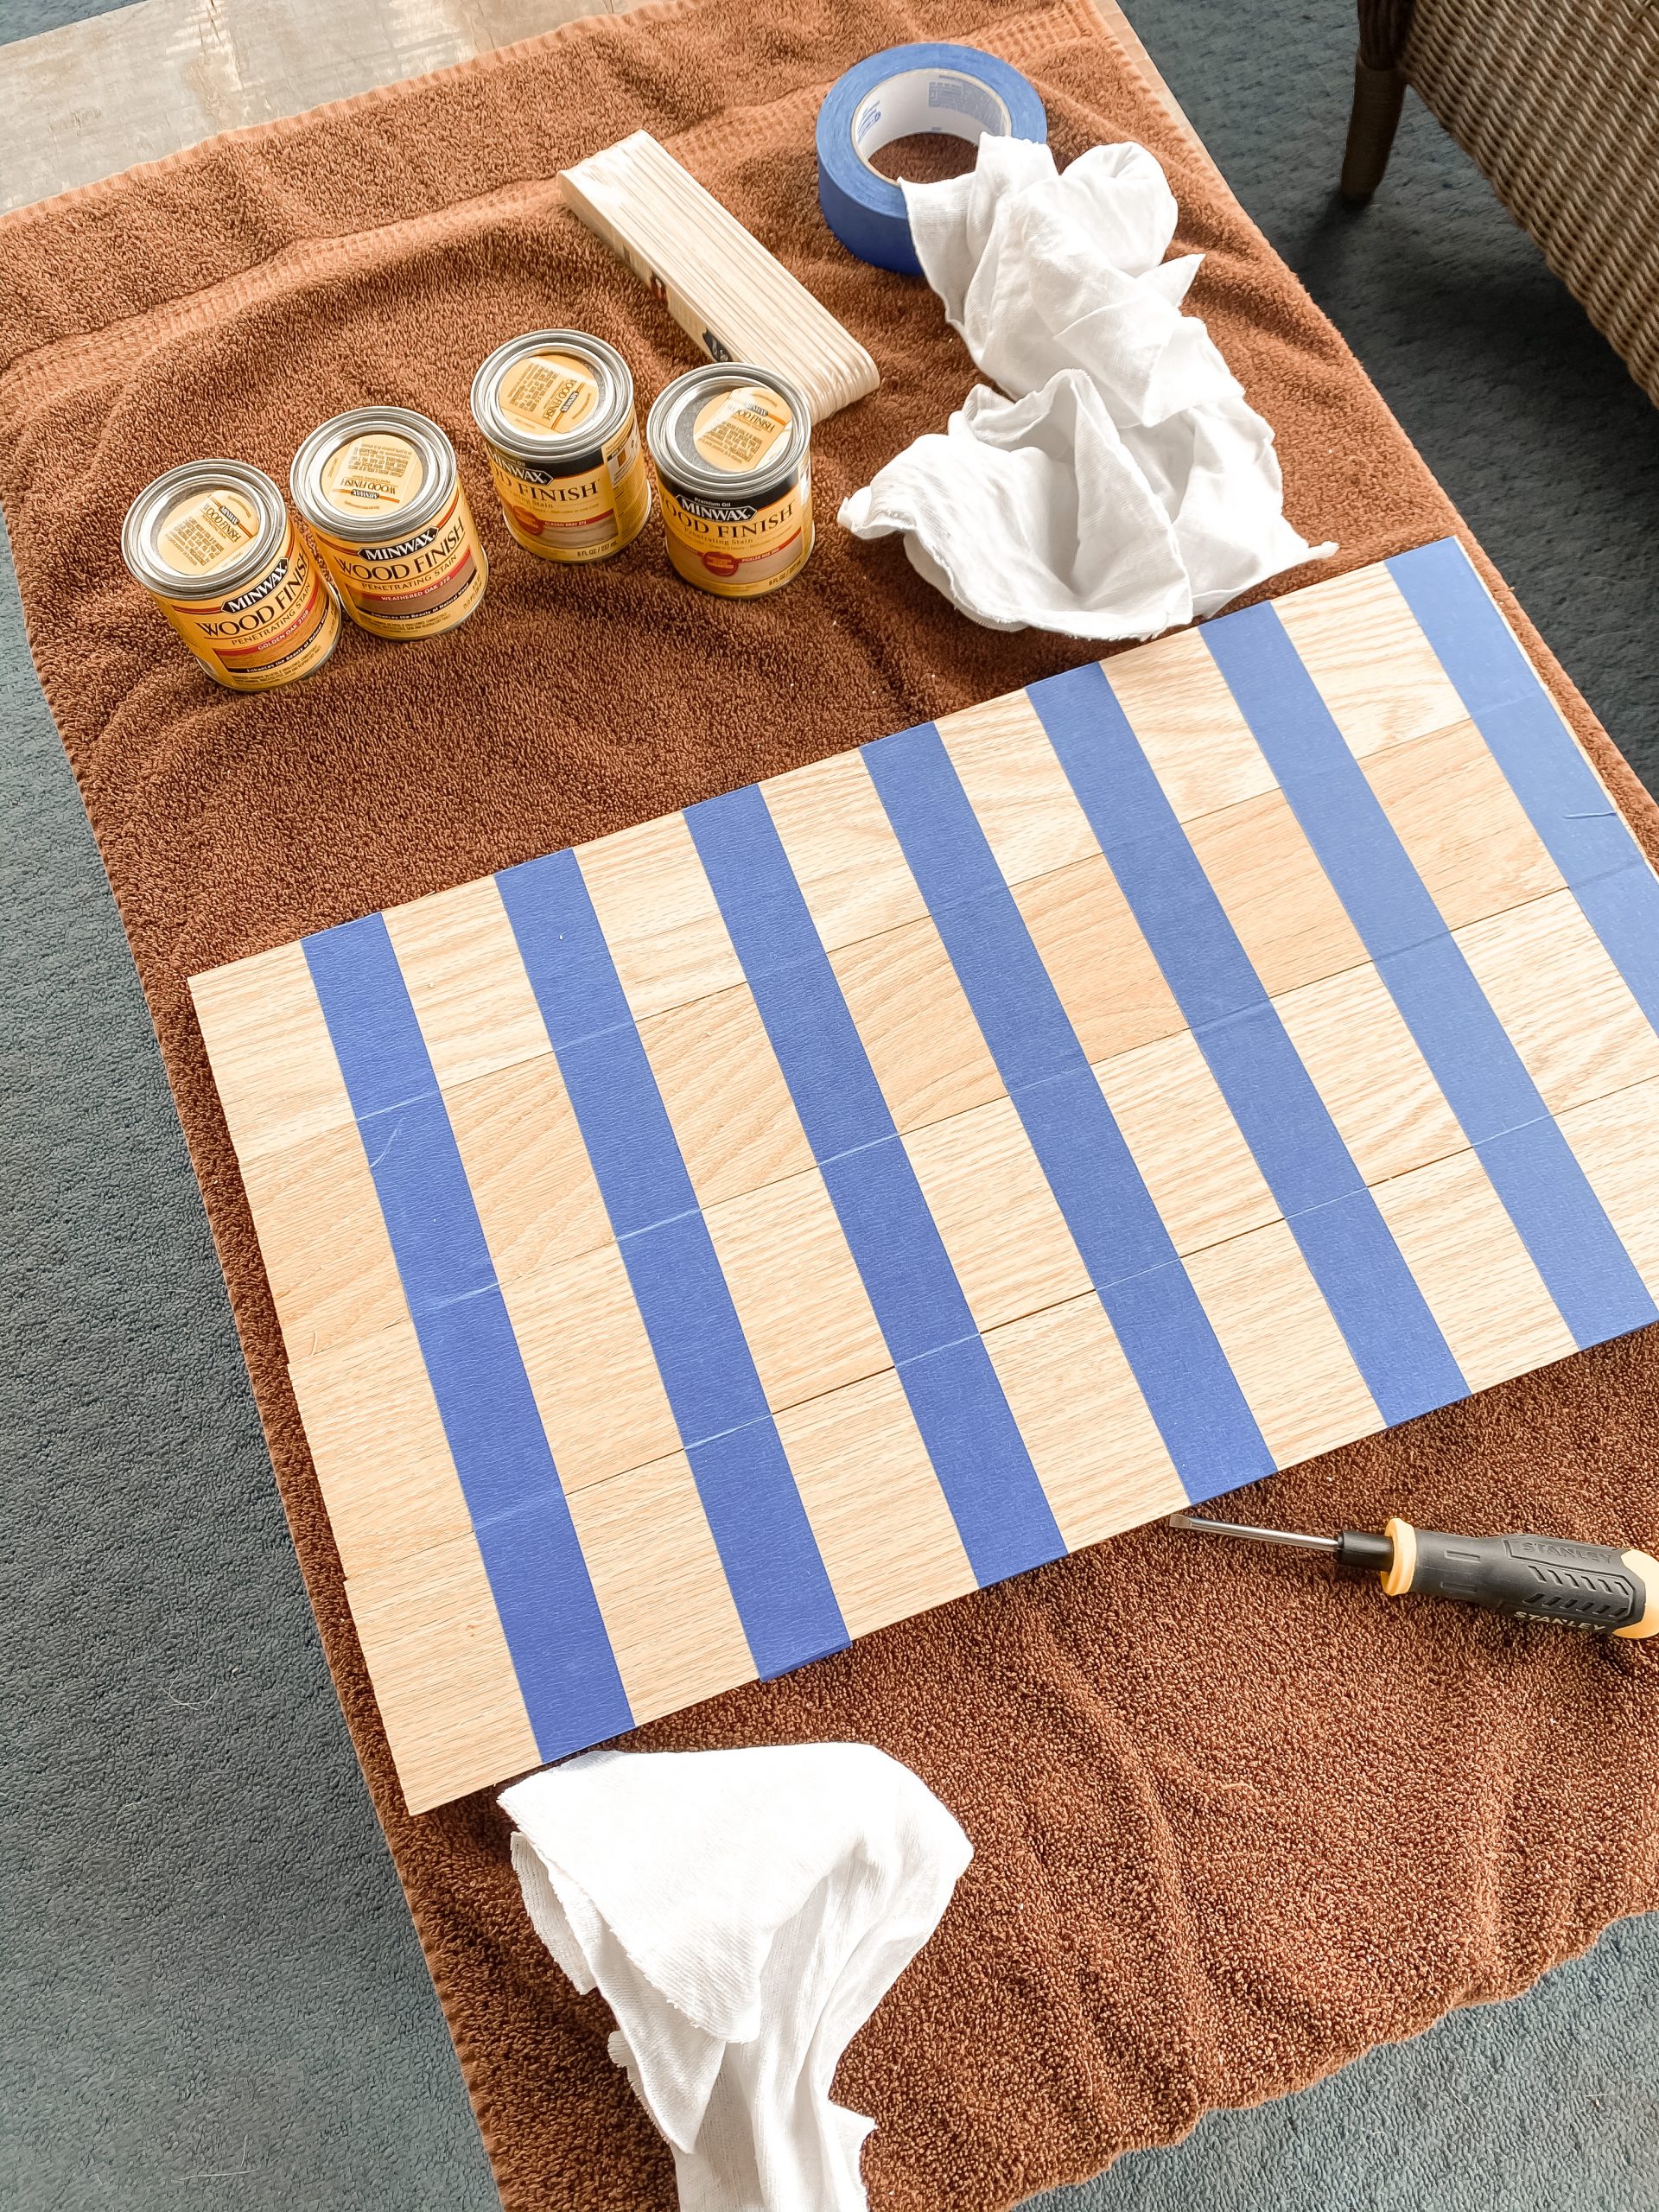
lay wood planks in a row, then tape together with painter tape.
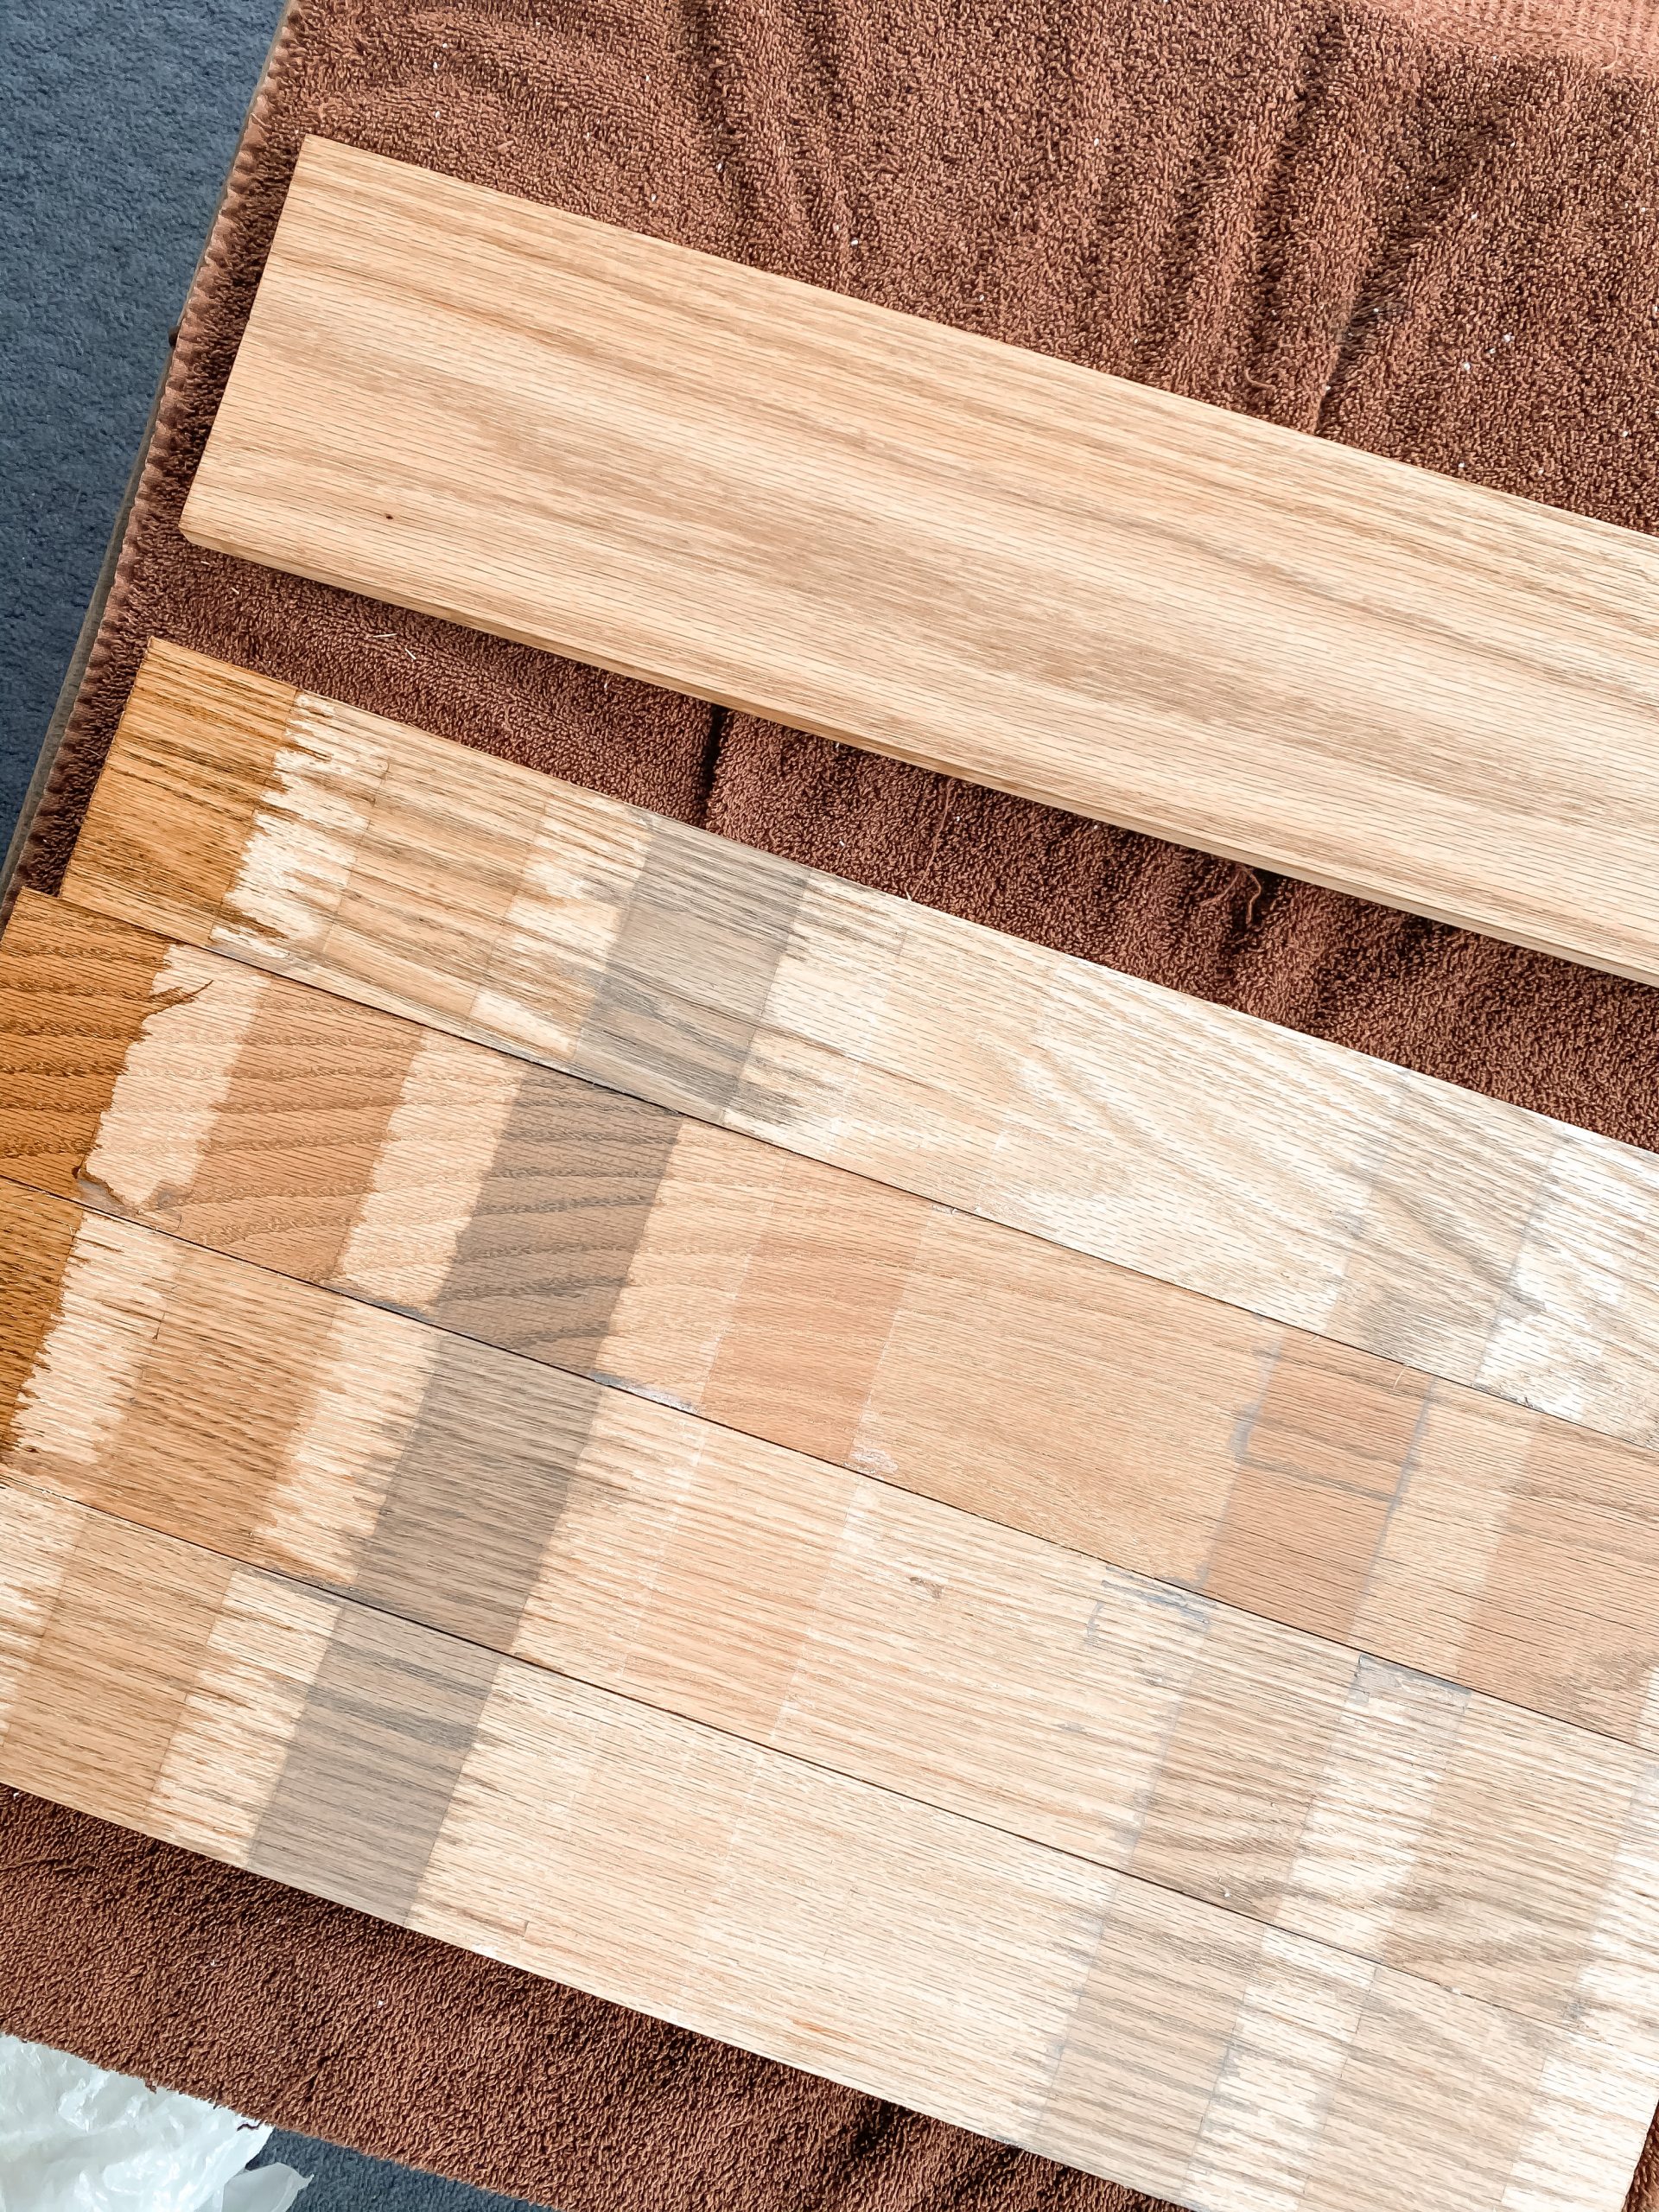
open one stain at a time, stir and use your lent free cloth to apply stain, rubbing on in the same direction of the grain. Only apply in one of the portioned out areas, across all four of you planks.
Apply thick and let the stain absorb for at least 15 minutes, then rub off access.
Apply as many coats as you want but keep in mind the standard is 1 coat, 2 or more is usually an upgraded cost.
Go down the line and repeat this steps for each stain color/portion of your planks.
If you want to go the extra step, apply your oil based (which does yellow out the stain) or water based (prevents yellowing) finish after the stain has completely dried. I personally skipped this step bc I knew I wanted to go with a water base finish which would prevent the color from turning yellow/orange.
Once everything is dry, you can then remove the tape to see the color difference.
What you see above is (from left to right) golden oak, weathered oak, classic grey, & pickled oak.
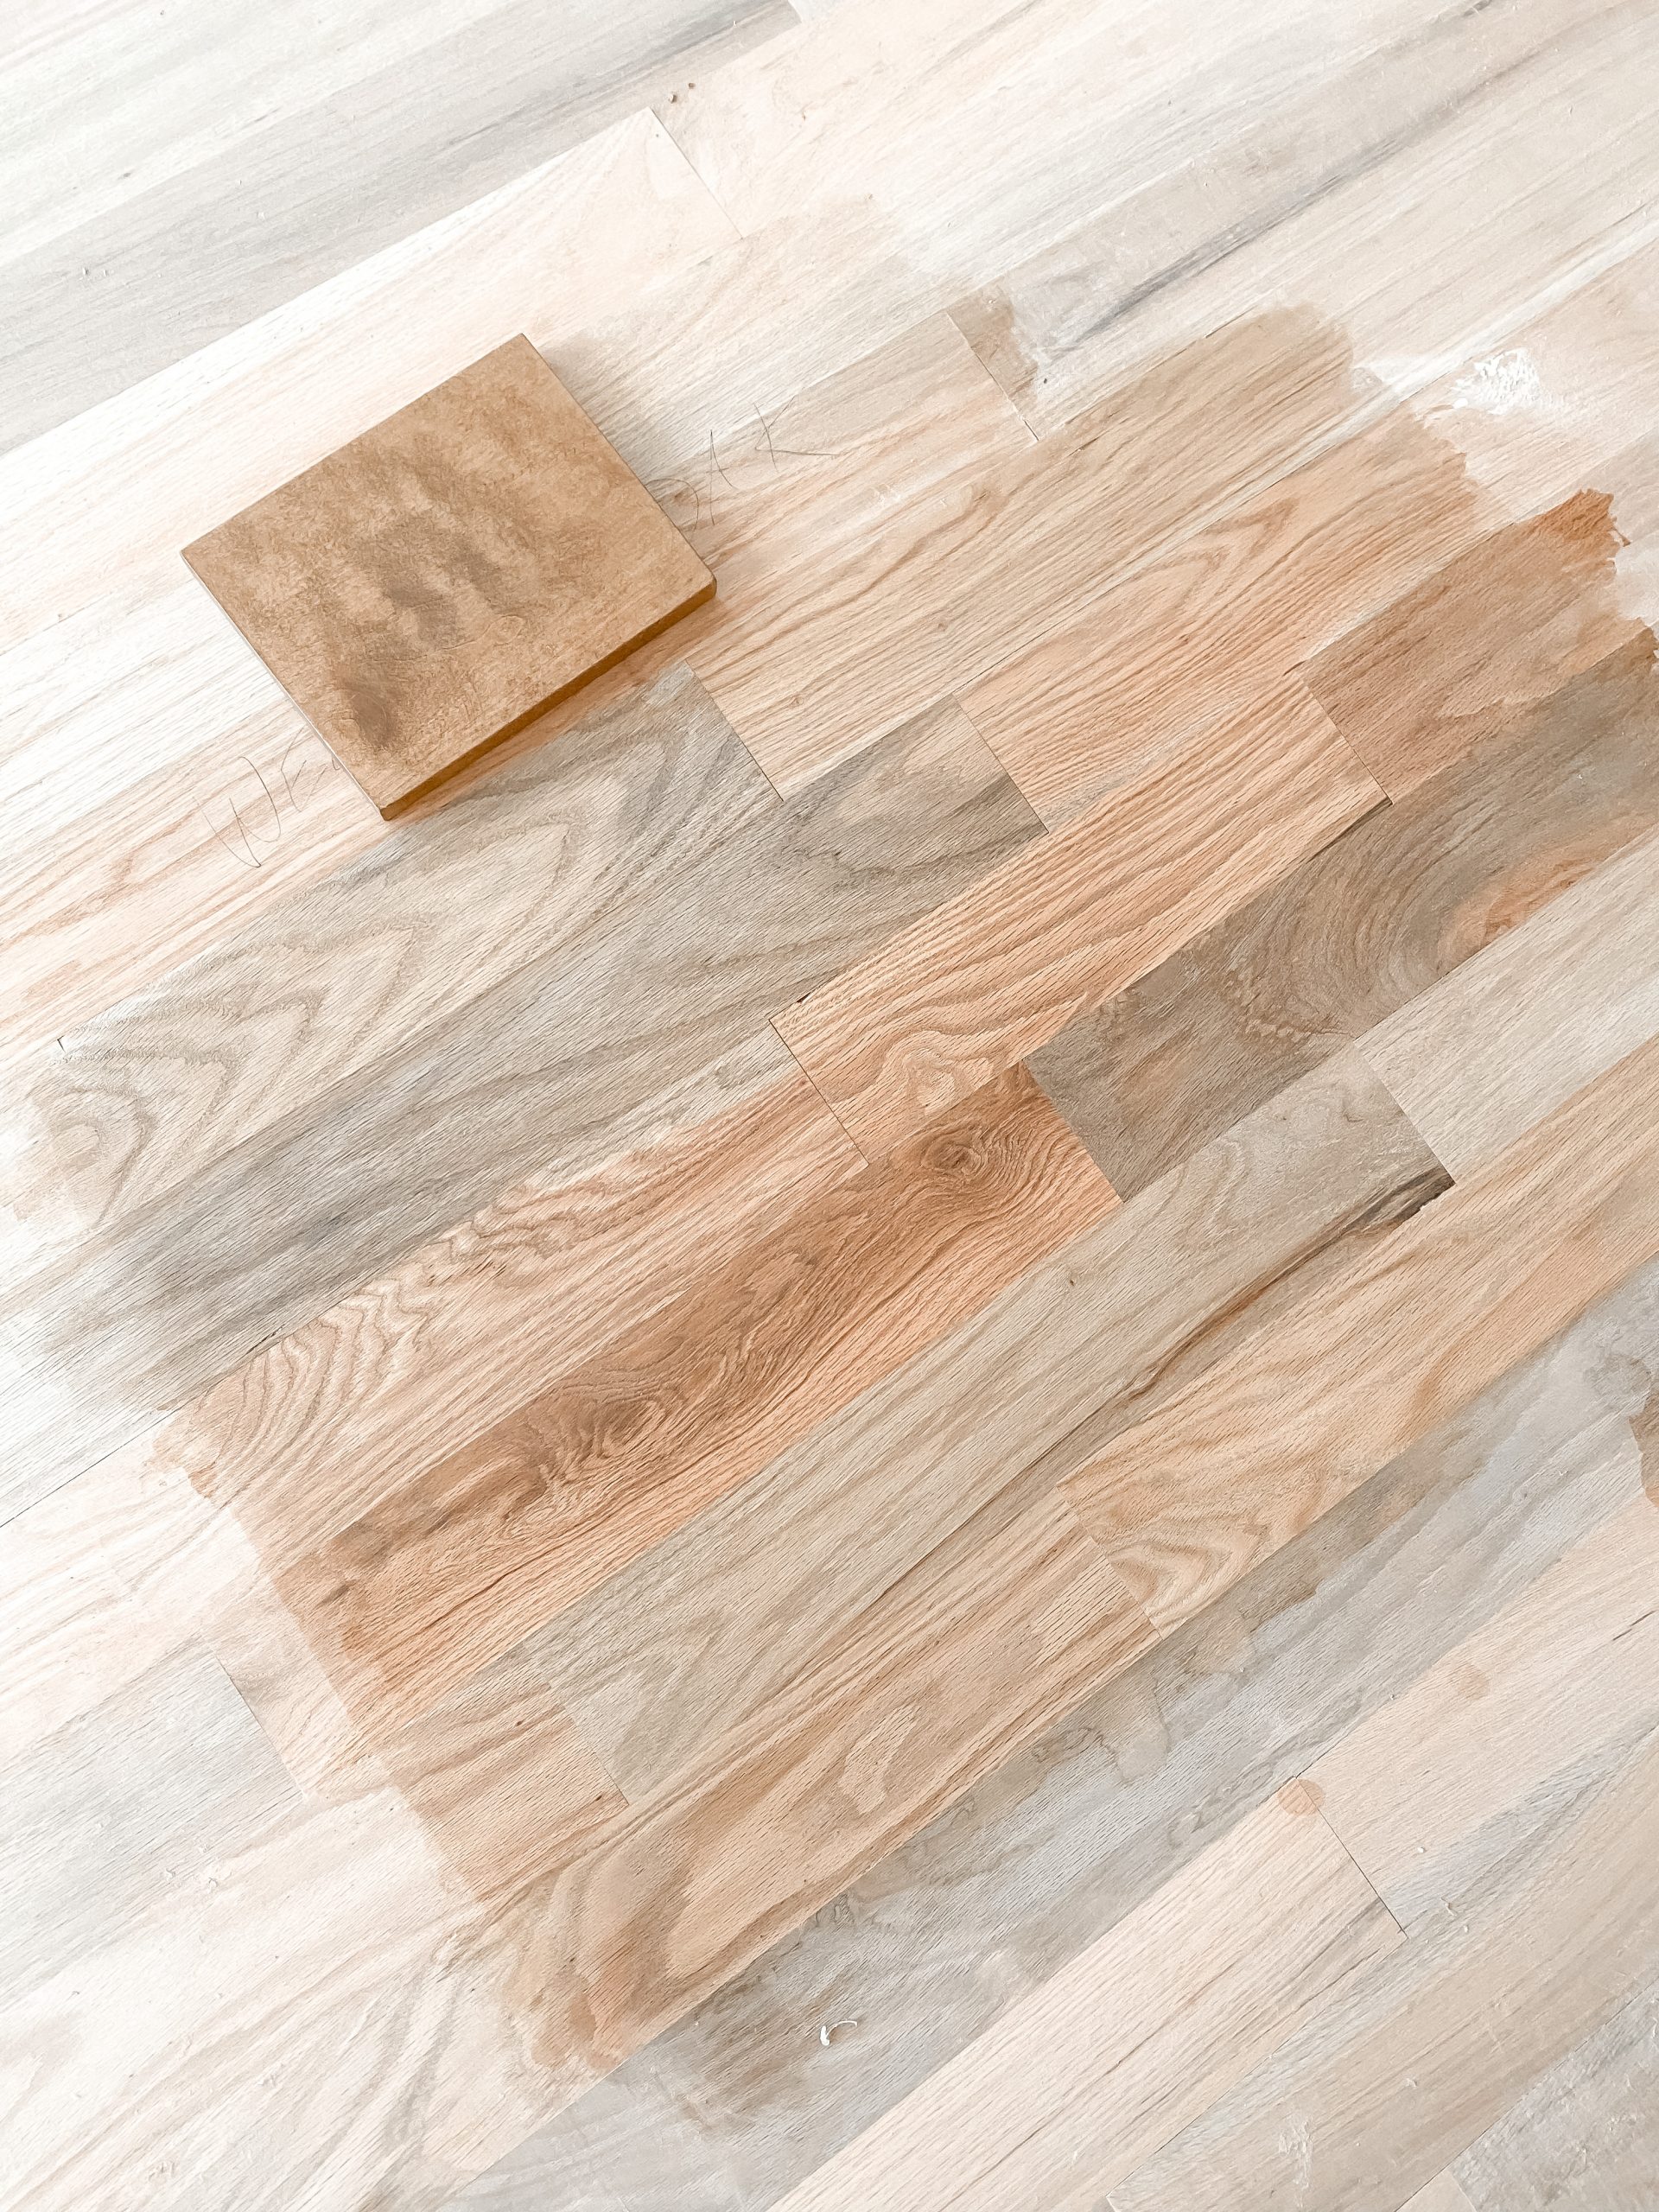
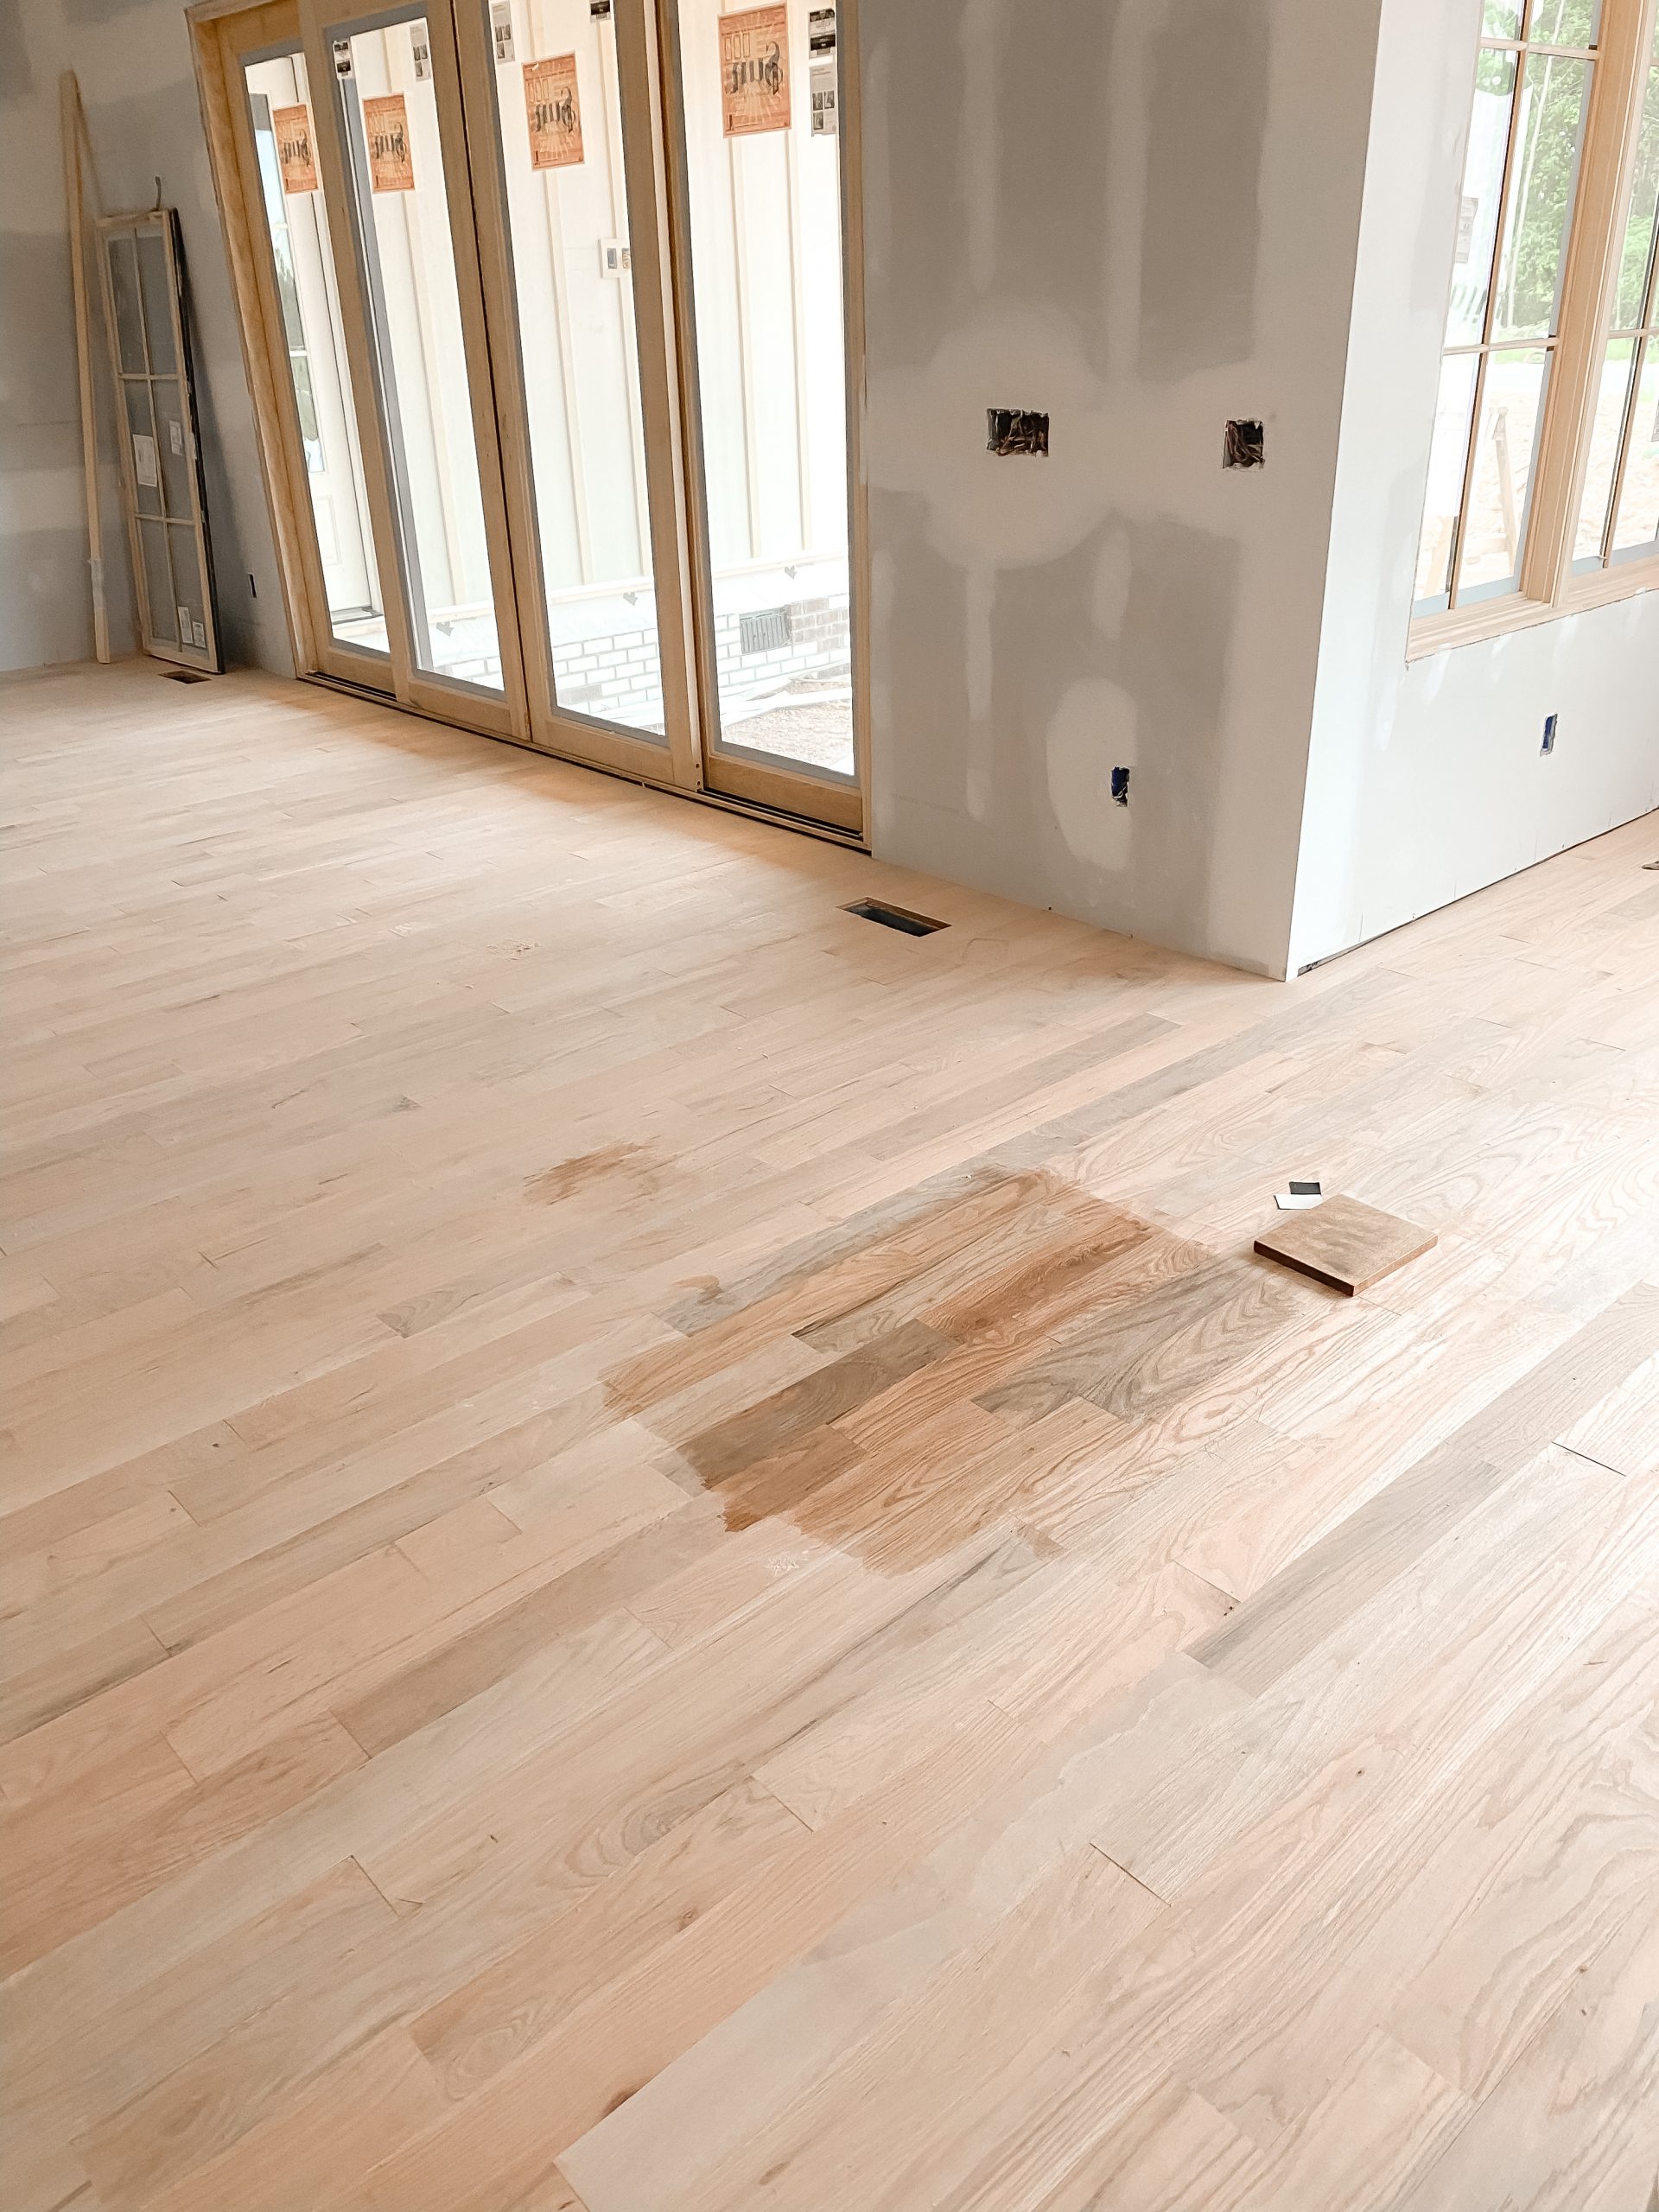
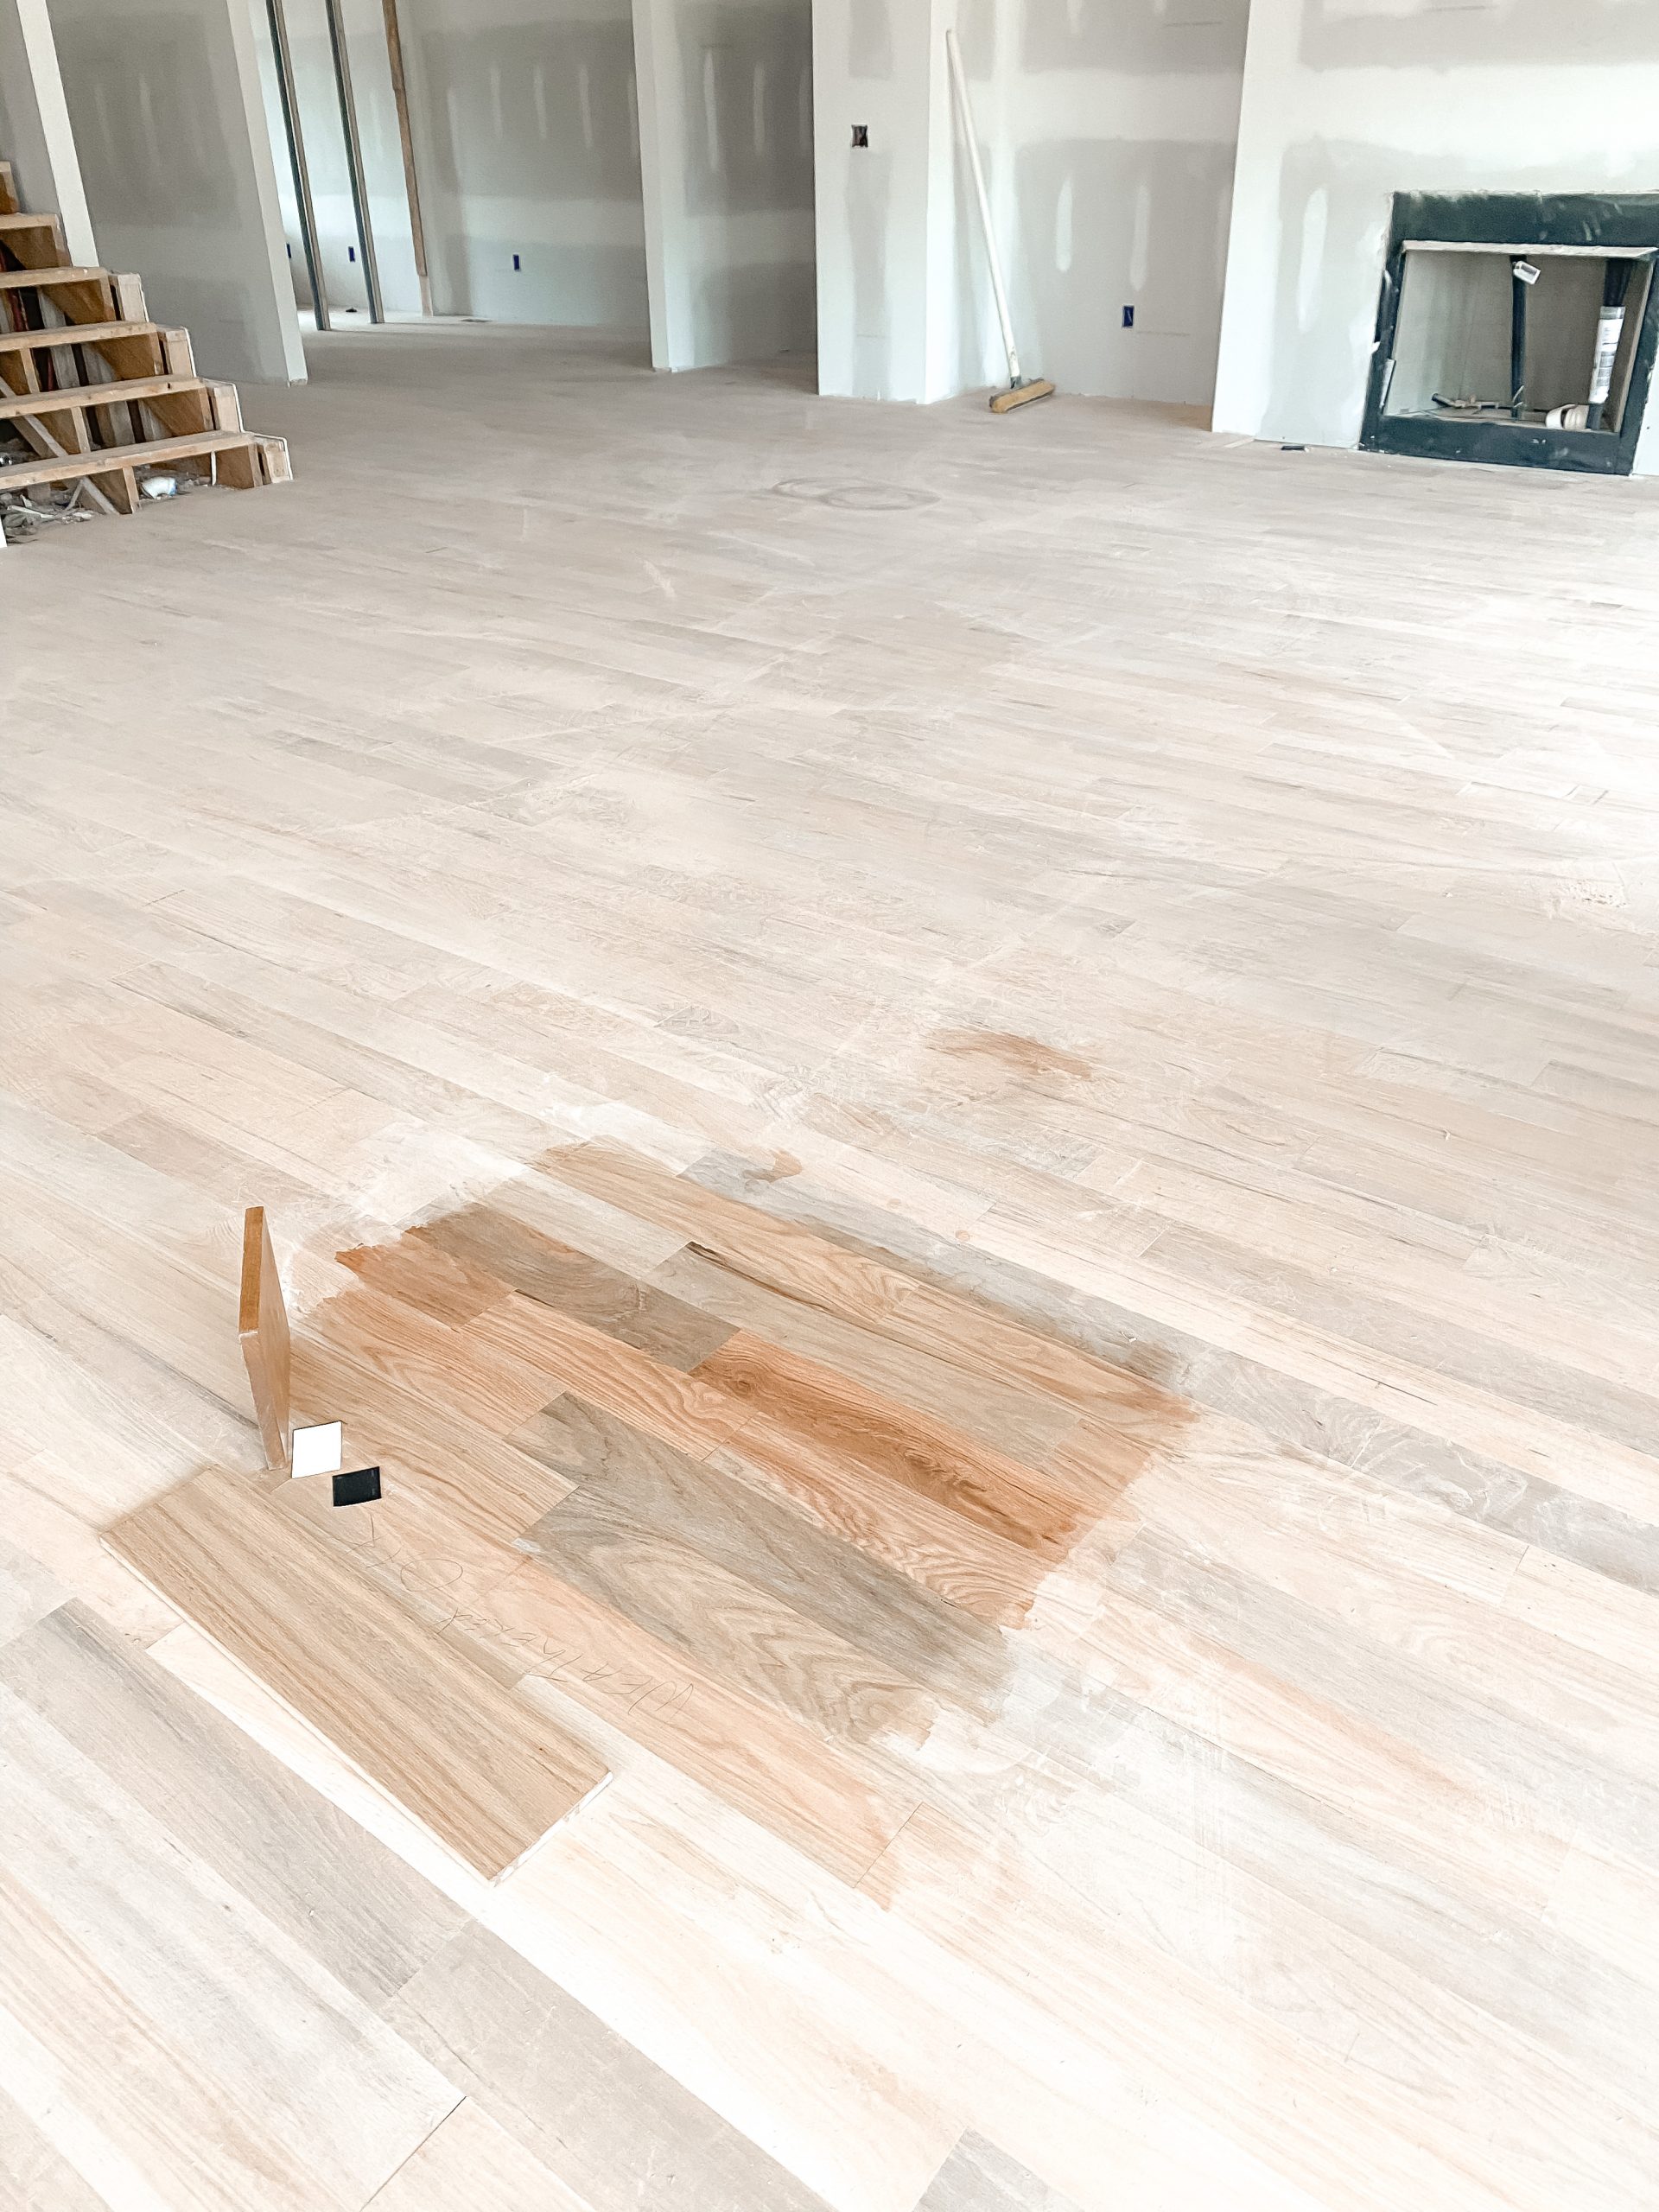
We decided to move forward with sampling the weathered oak on our floors at the house. So what you see below is – Minwax Weathered Oak with a Matte Based Water finish – on red oak #1 floors (less tonal variation and less knots).


Comments +