

On today’s Murphy Home Feature, I’m sharing our bedrooms and master bath! While we really try to focus on spending time together as a family in our main living area, I’m a big believer in our bedrooms being a sacred, private space and wanted to make sure the rooms suited everyone’s needs as best as possible.
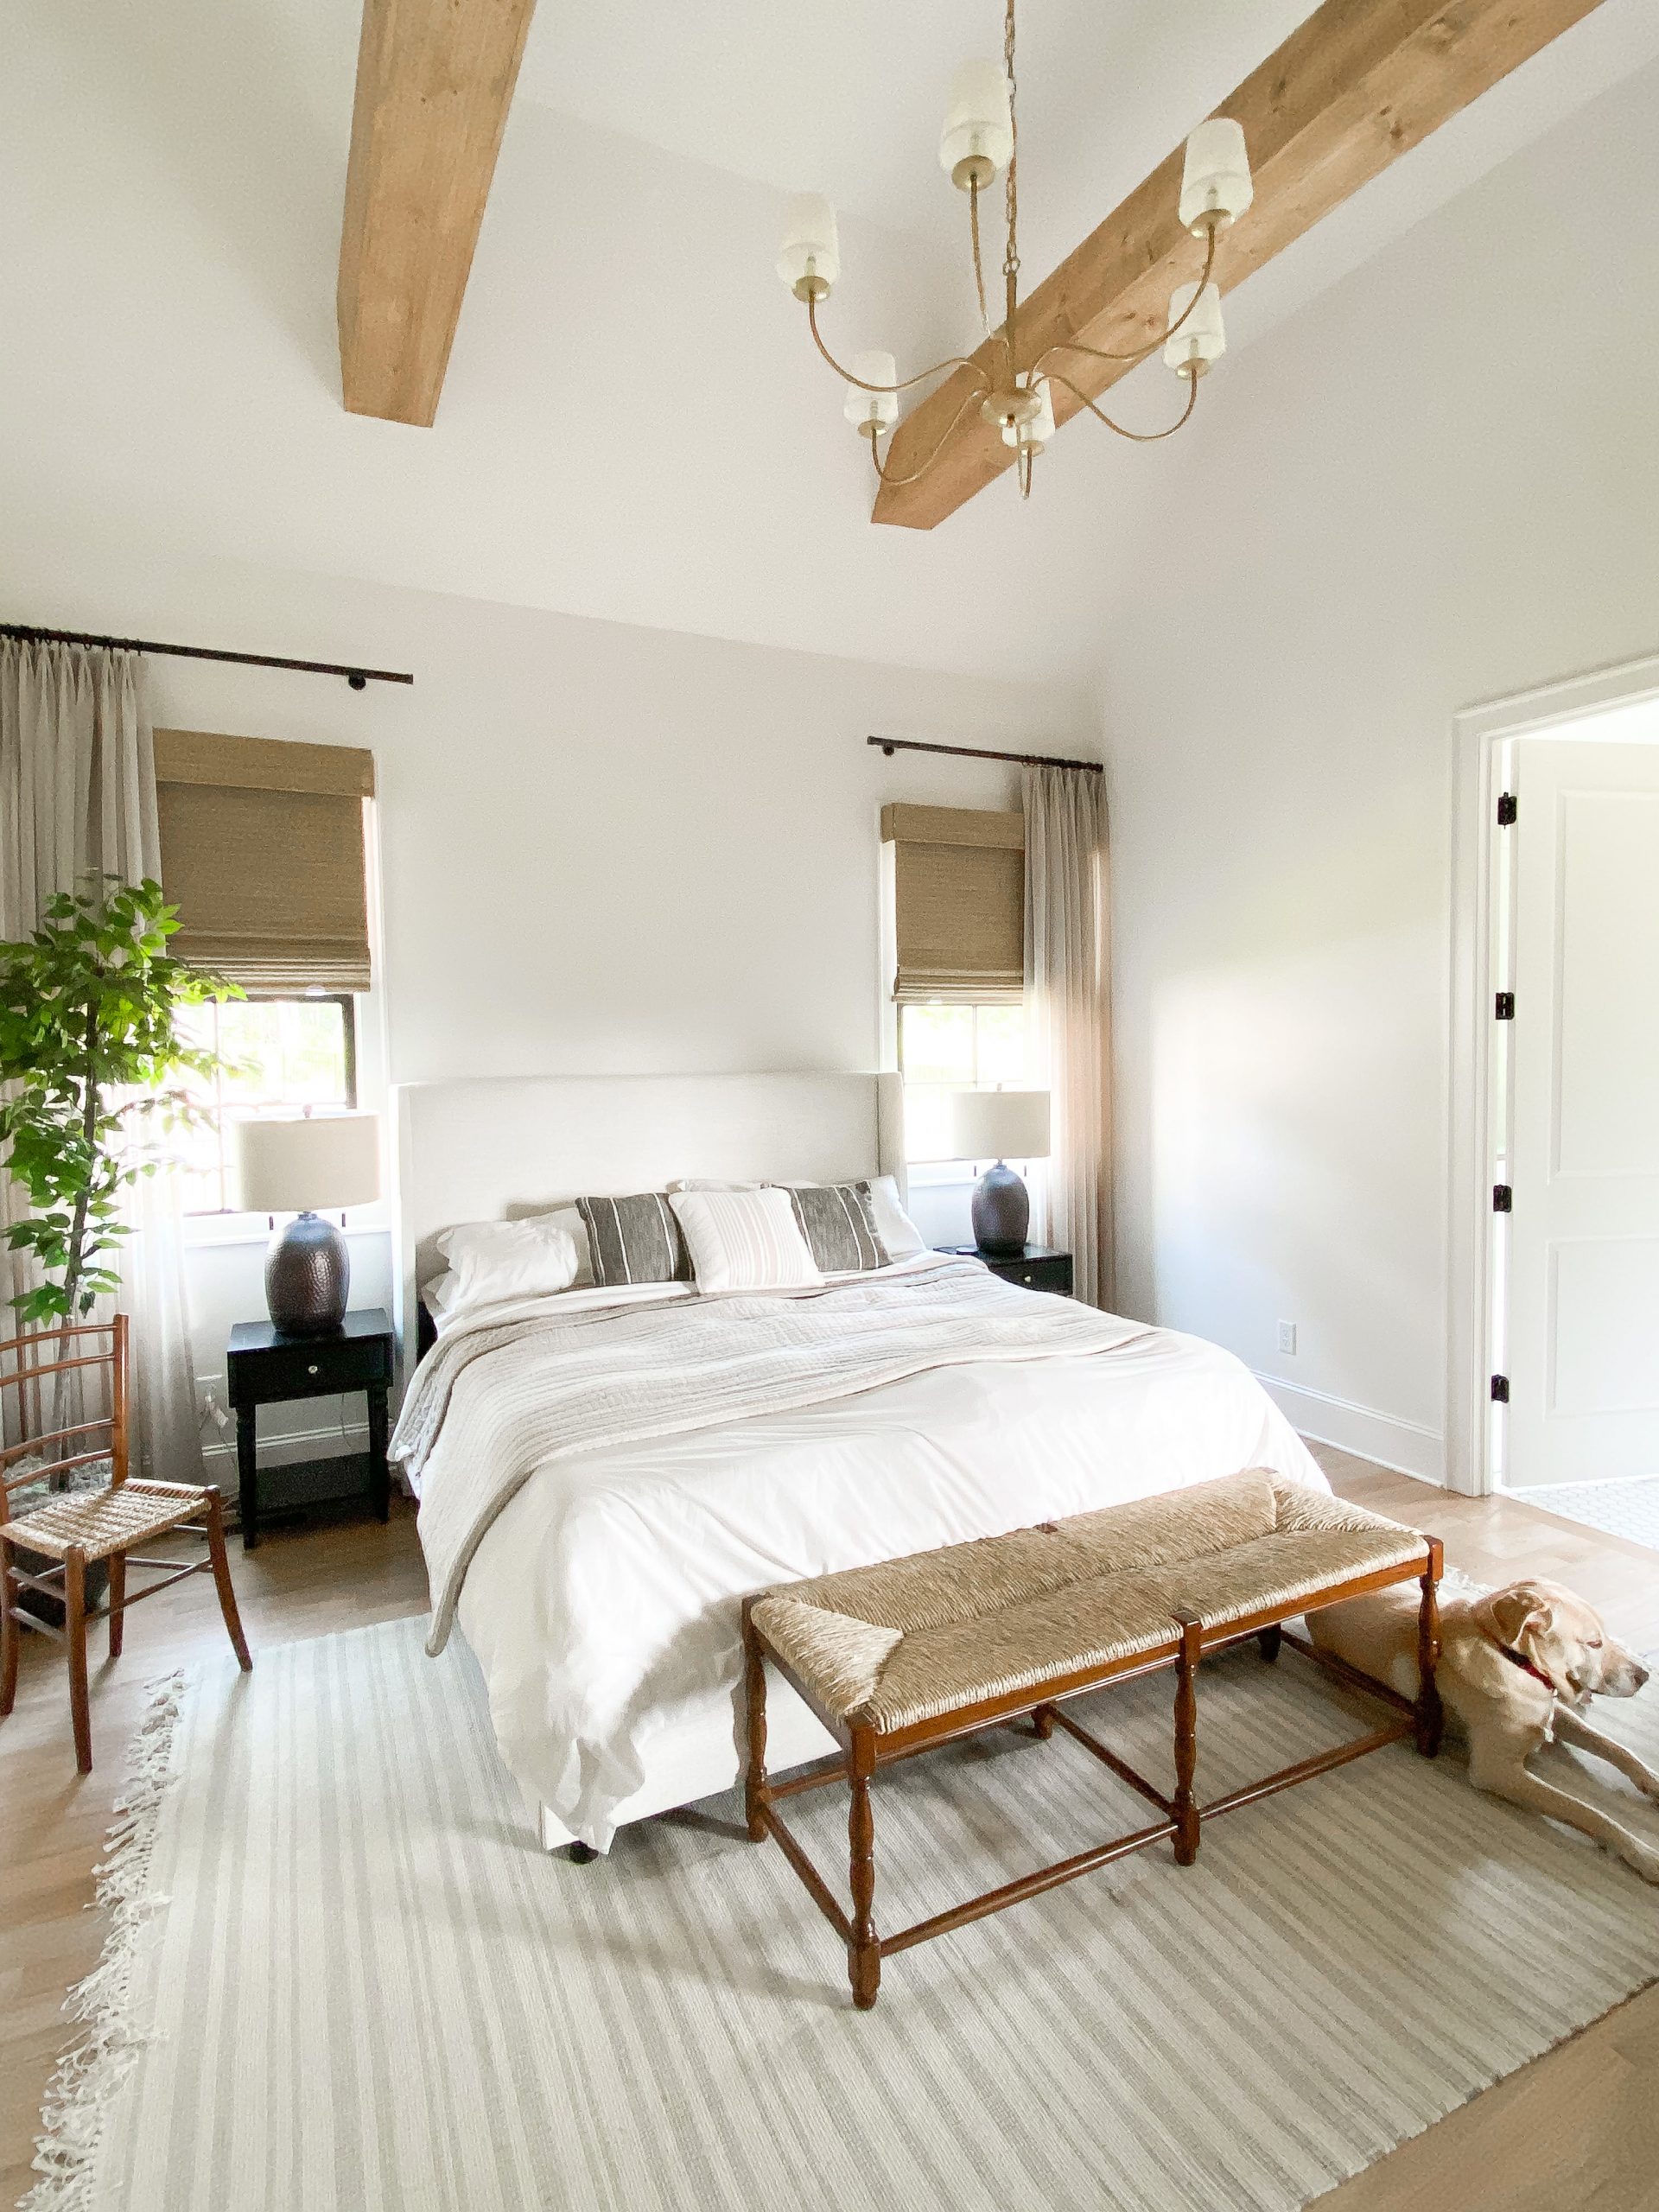
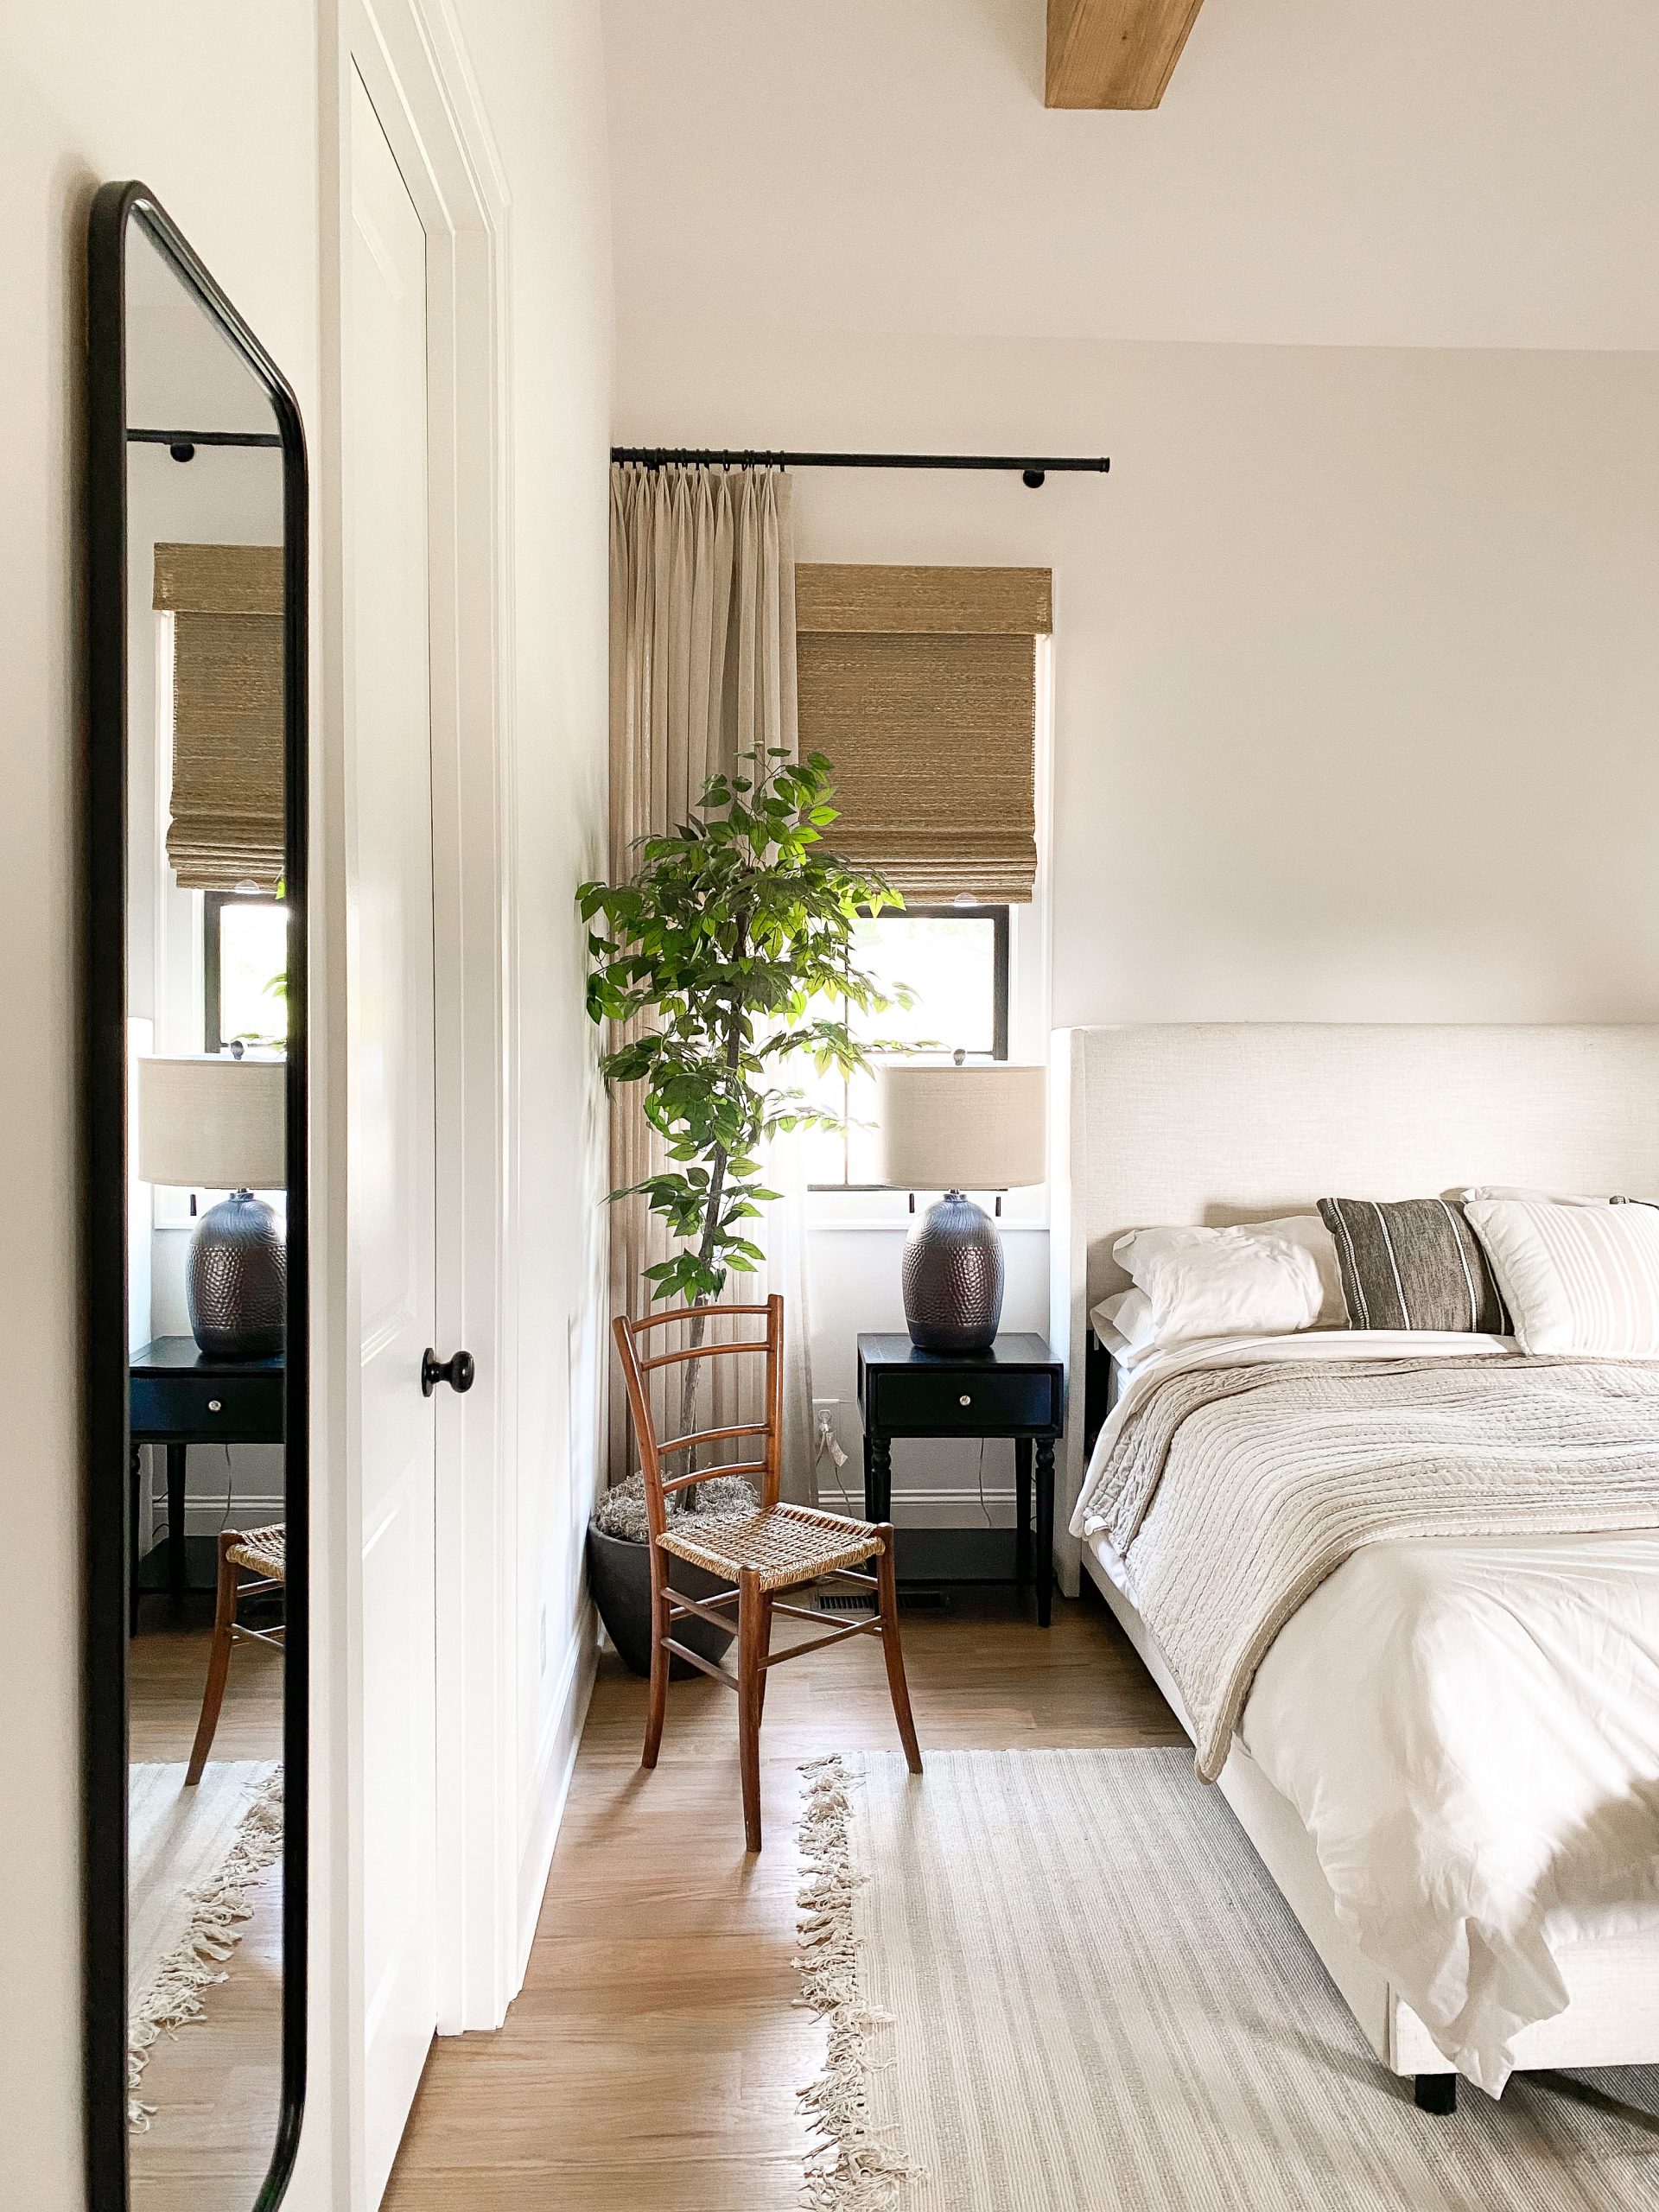
My goal for our master bedroom was to make it feel slightly elevated, yet still feel cozy and relaxing. I also wanted to stay consistent with our living room by adding a vaulted ceiling with wood beams and a chandelier. A key feature to making a bedroom feel comfortable and functional is to add seating. It’s important to have a place to sit beside your bed to put on shoes, or sit and chat with your spouse if they’re getting ready, etc. Also, adding some greenery into a bedroom adds more texture and interest.
Our bedrooms all have the same window treatments that I talked about in my Nursery Room Blog Post. Just as I mentioned there, we have cordless woven wooden roman shades and blackout curtains, which can make the rooms appear pitch-black, even in the middle of the day!
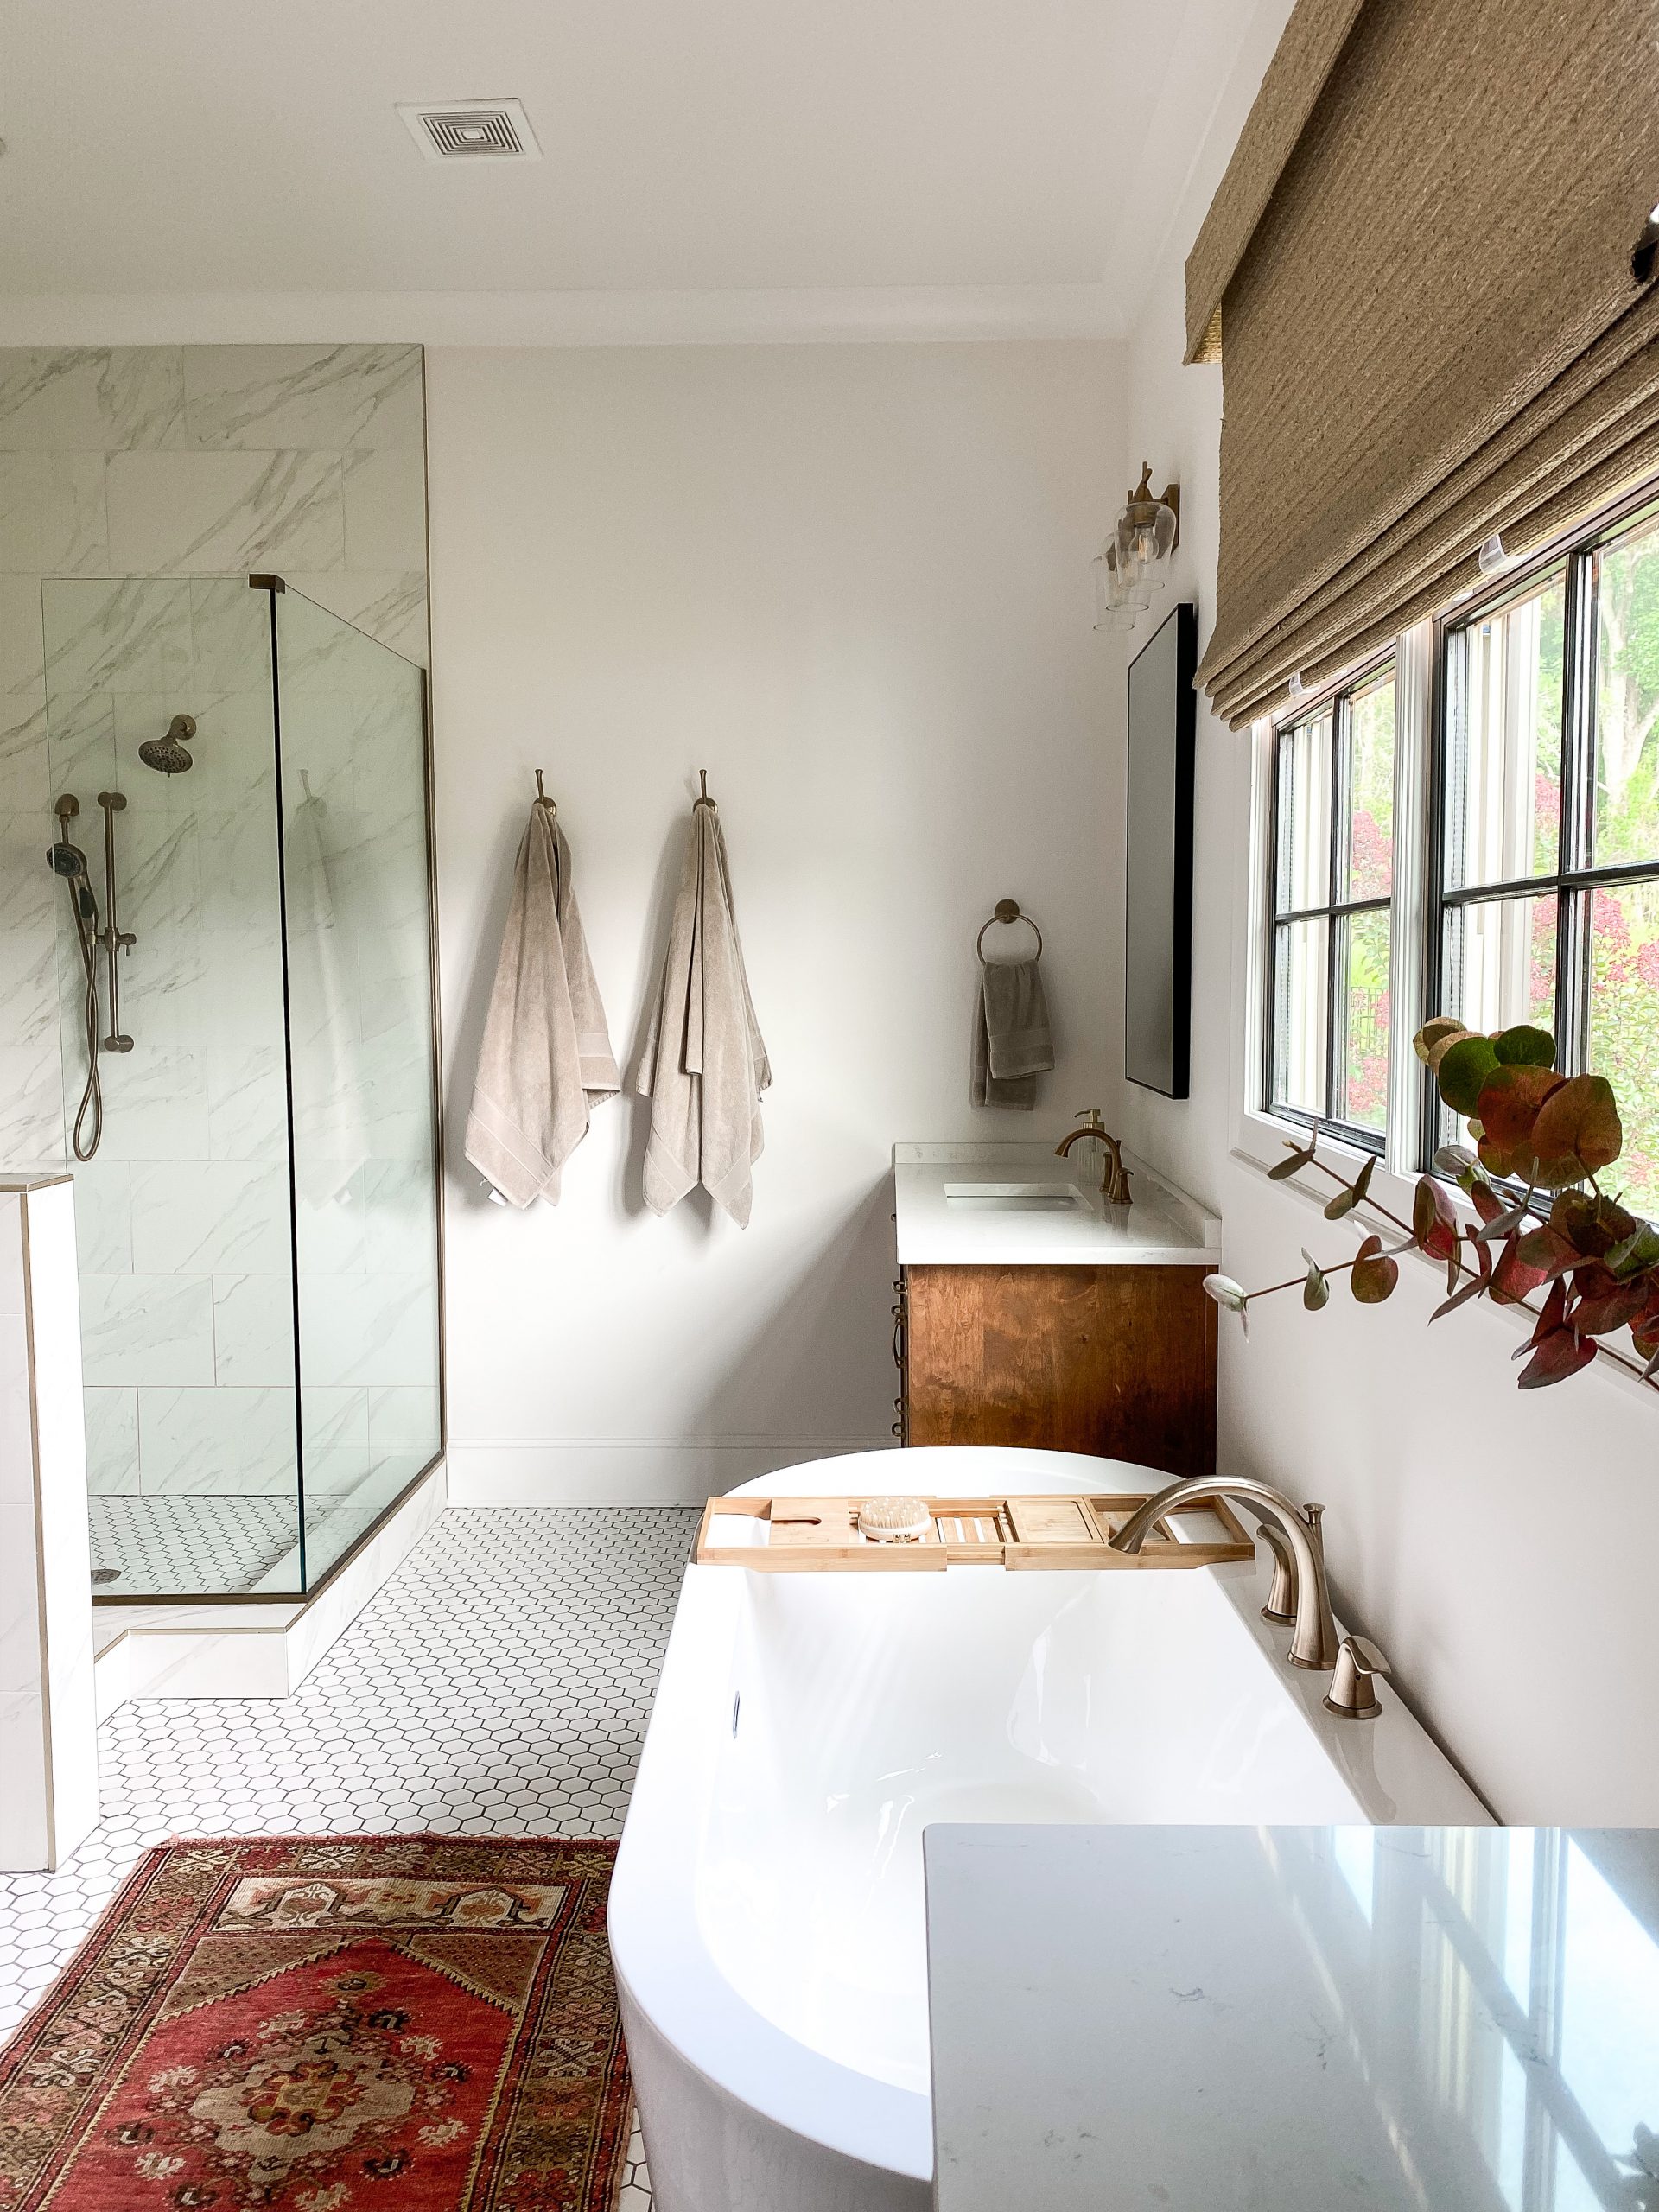
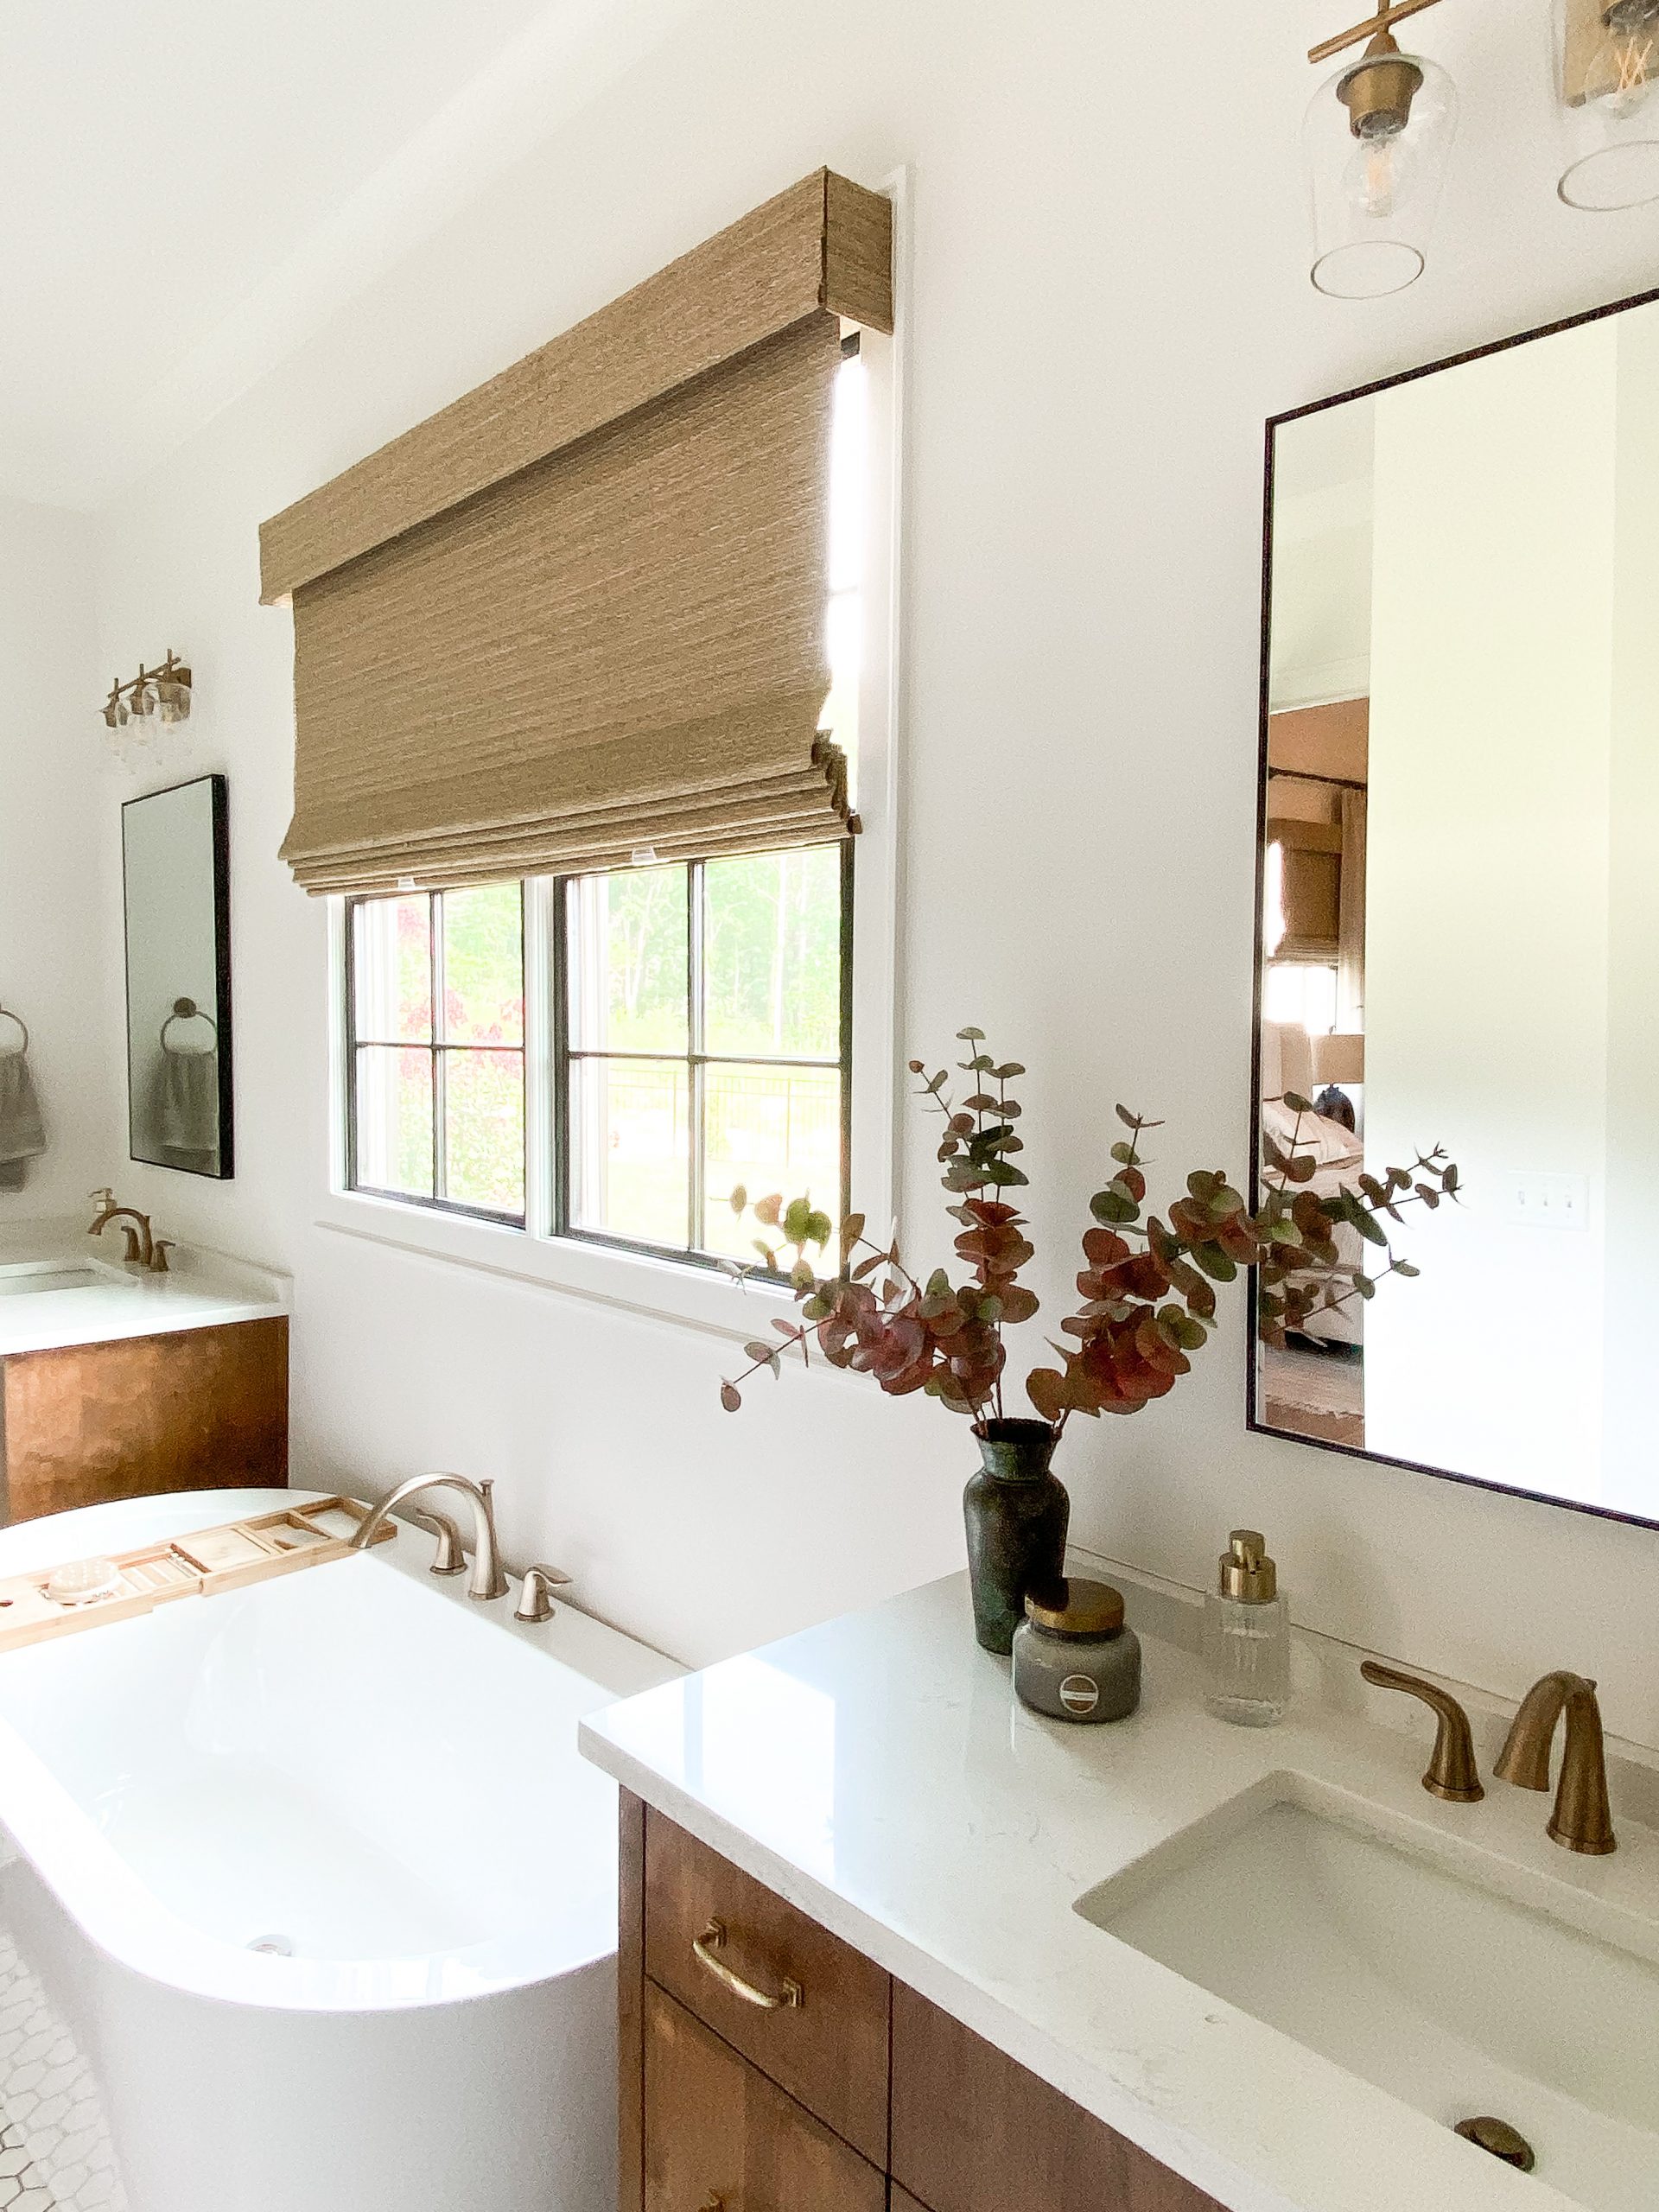
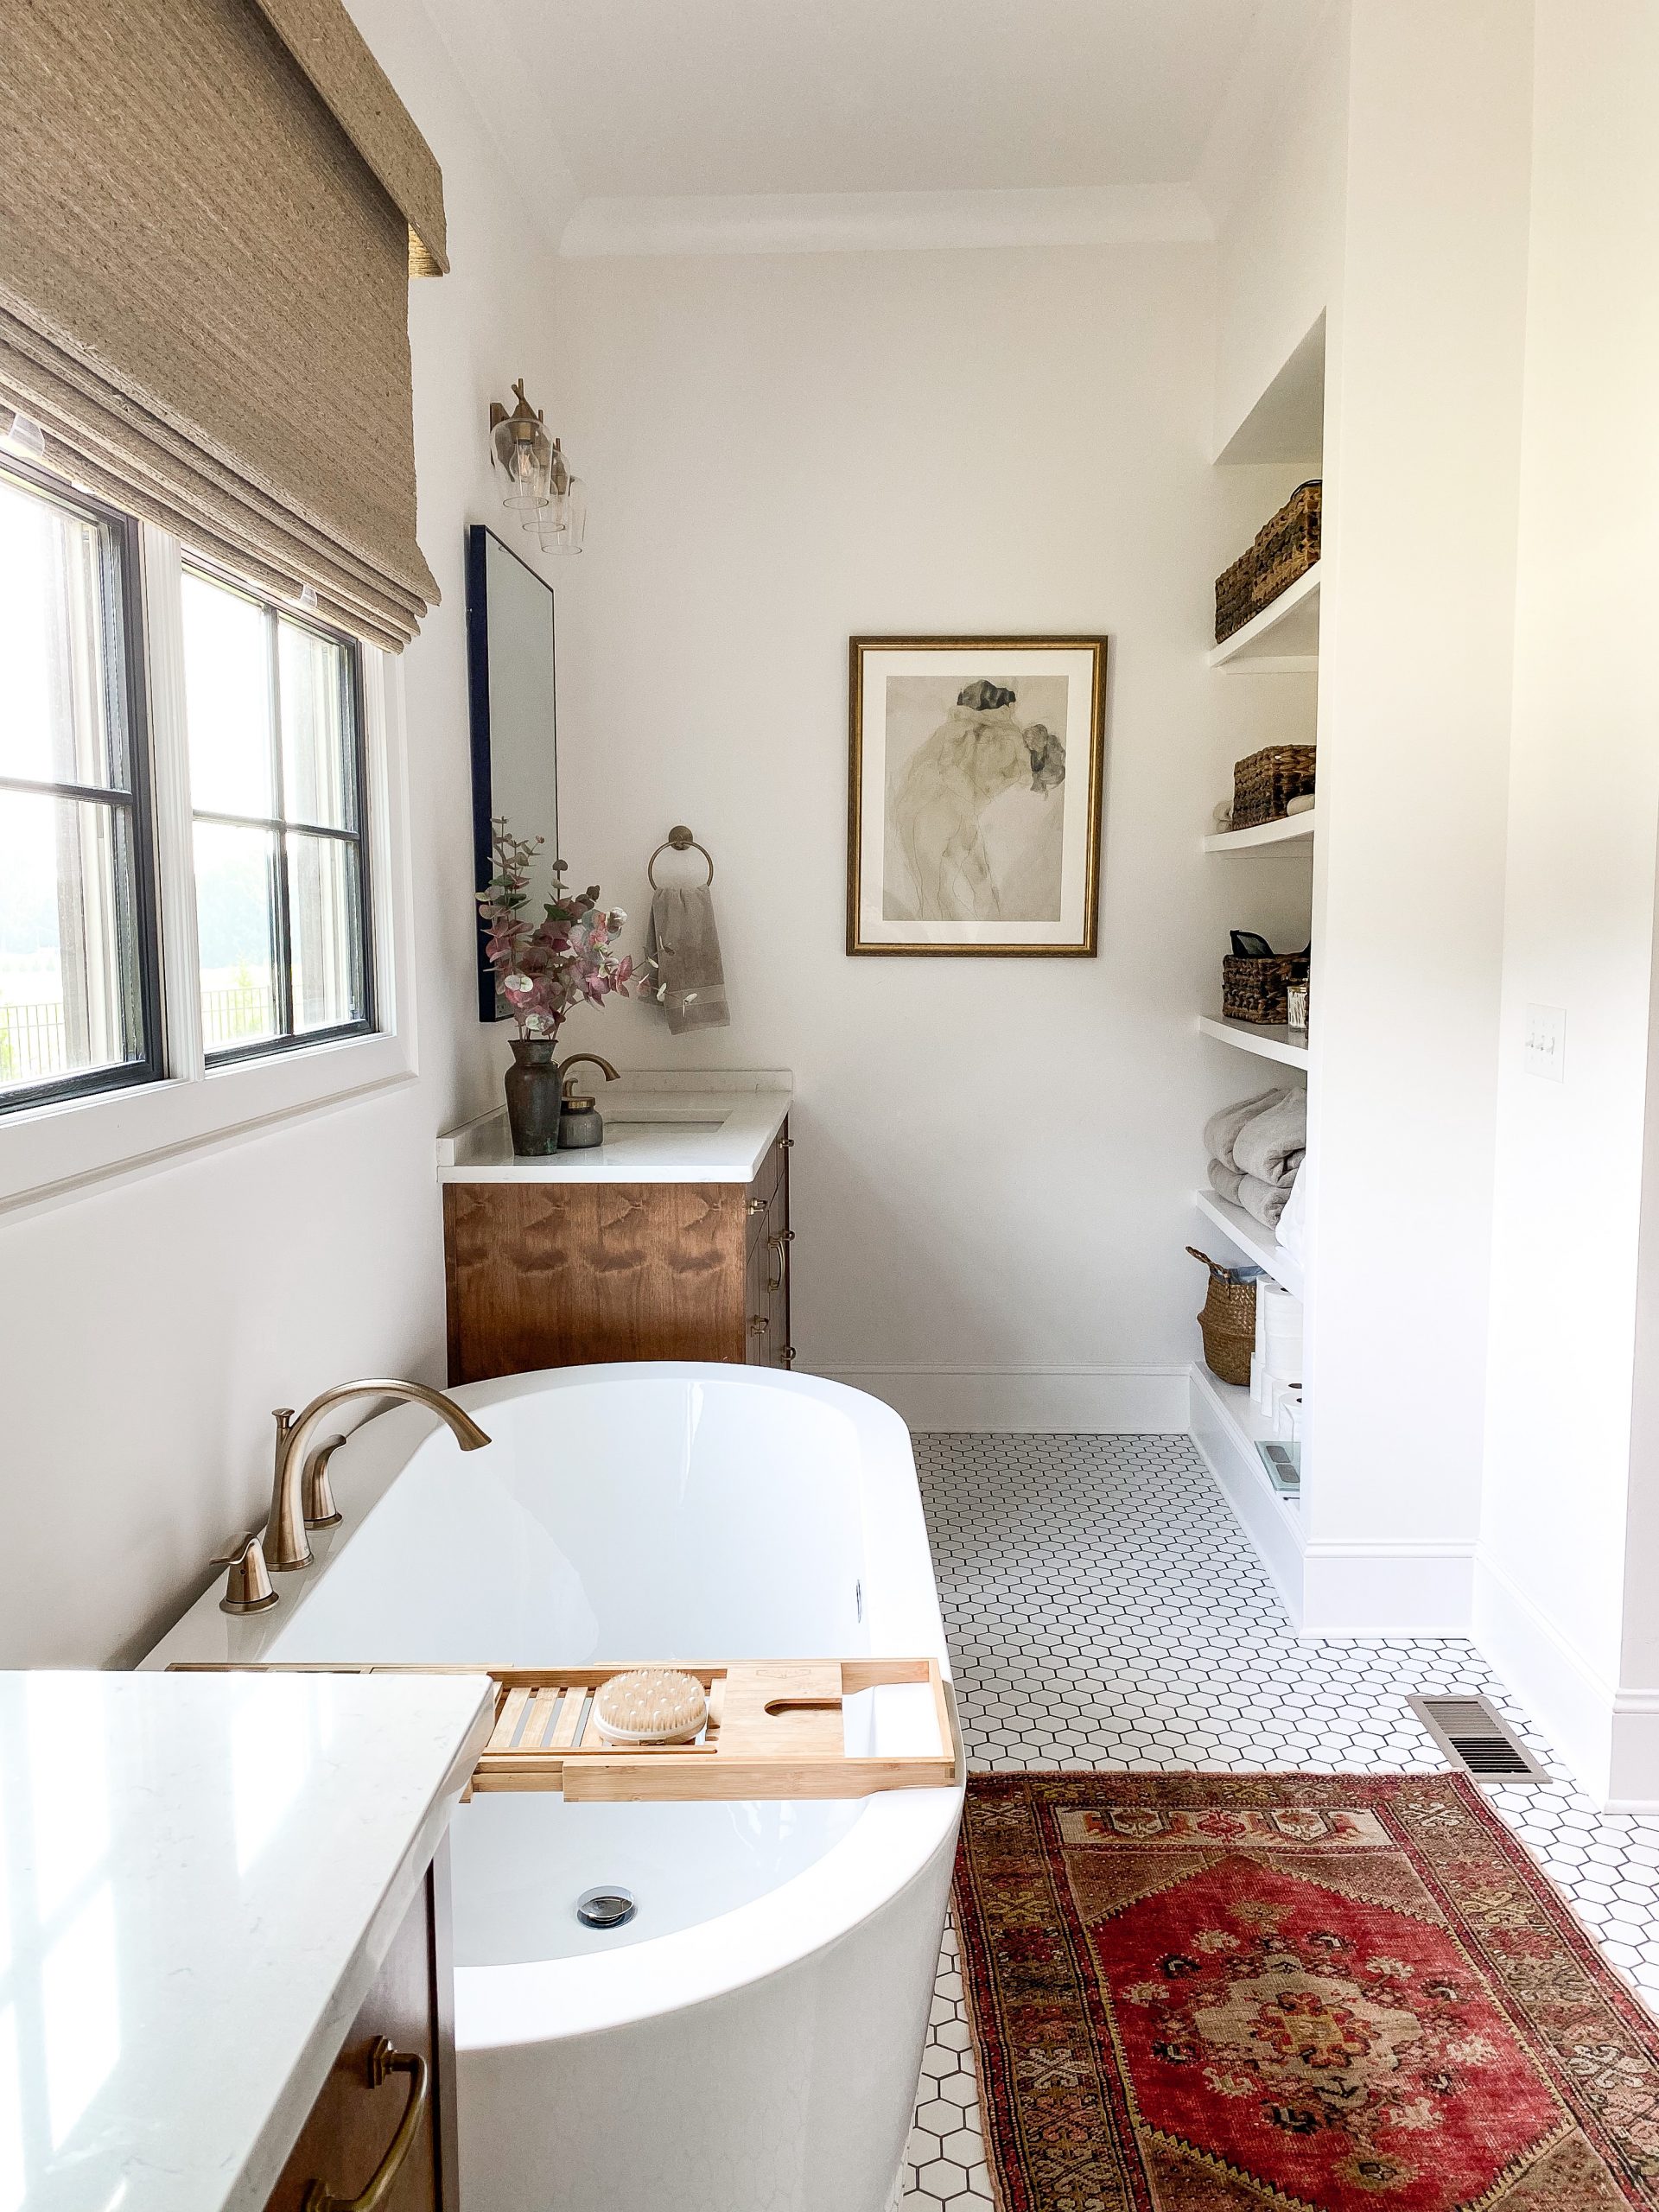
I wanted our master bathroom to have a vintage feel so we chose a 2-inch white hex tile with a dark grout and absolutely love the timeless look. We also opted for towel hooks as opposed to towel bars. Not only do I like the look better, but it also allows for our towel to dry faster.
Another goal we had for our bathroom was to keep our countertops clear of clutter so I made sure we had a ton of storage both under the sinks and on our open shelving so we can hide all of our mess. My biggest recommendation for open shelving would be to invest in baskets to place all of your bathroom products in so everything still appears clean, and we’ve actually stuck to it really well!
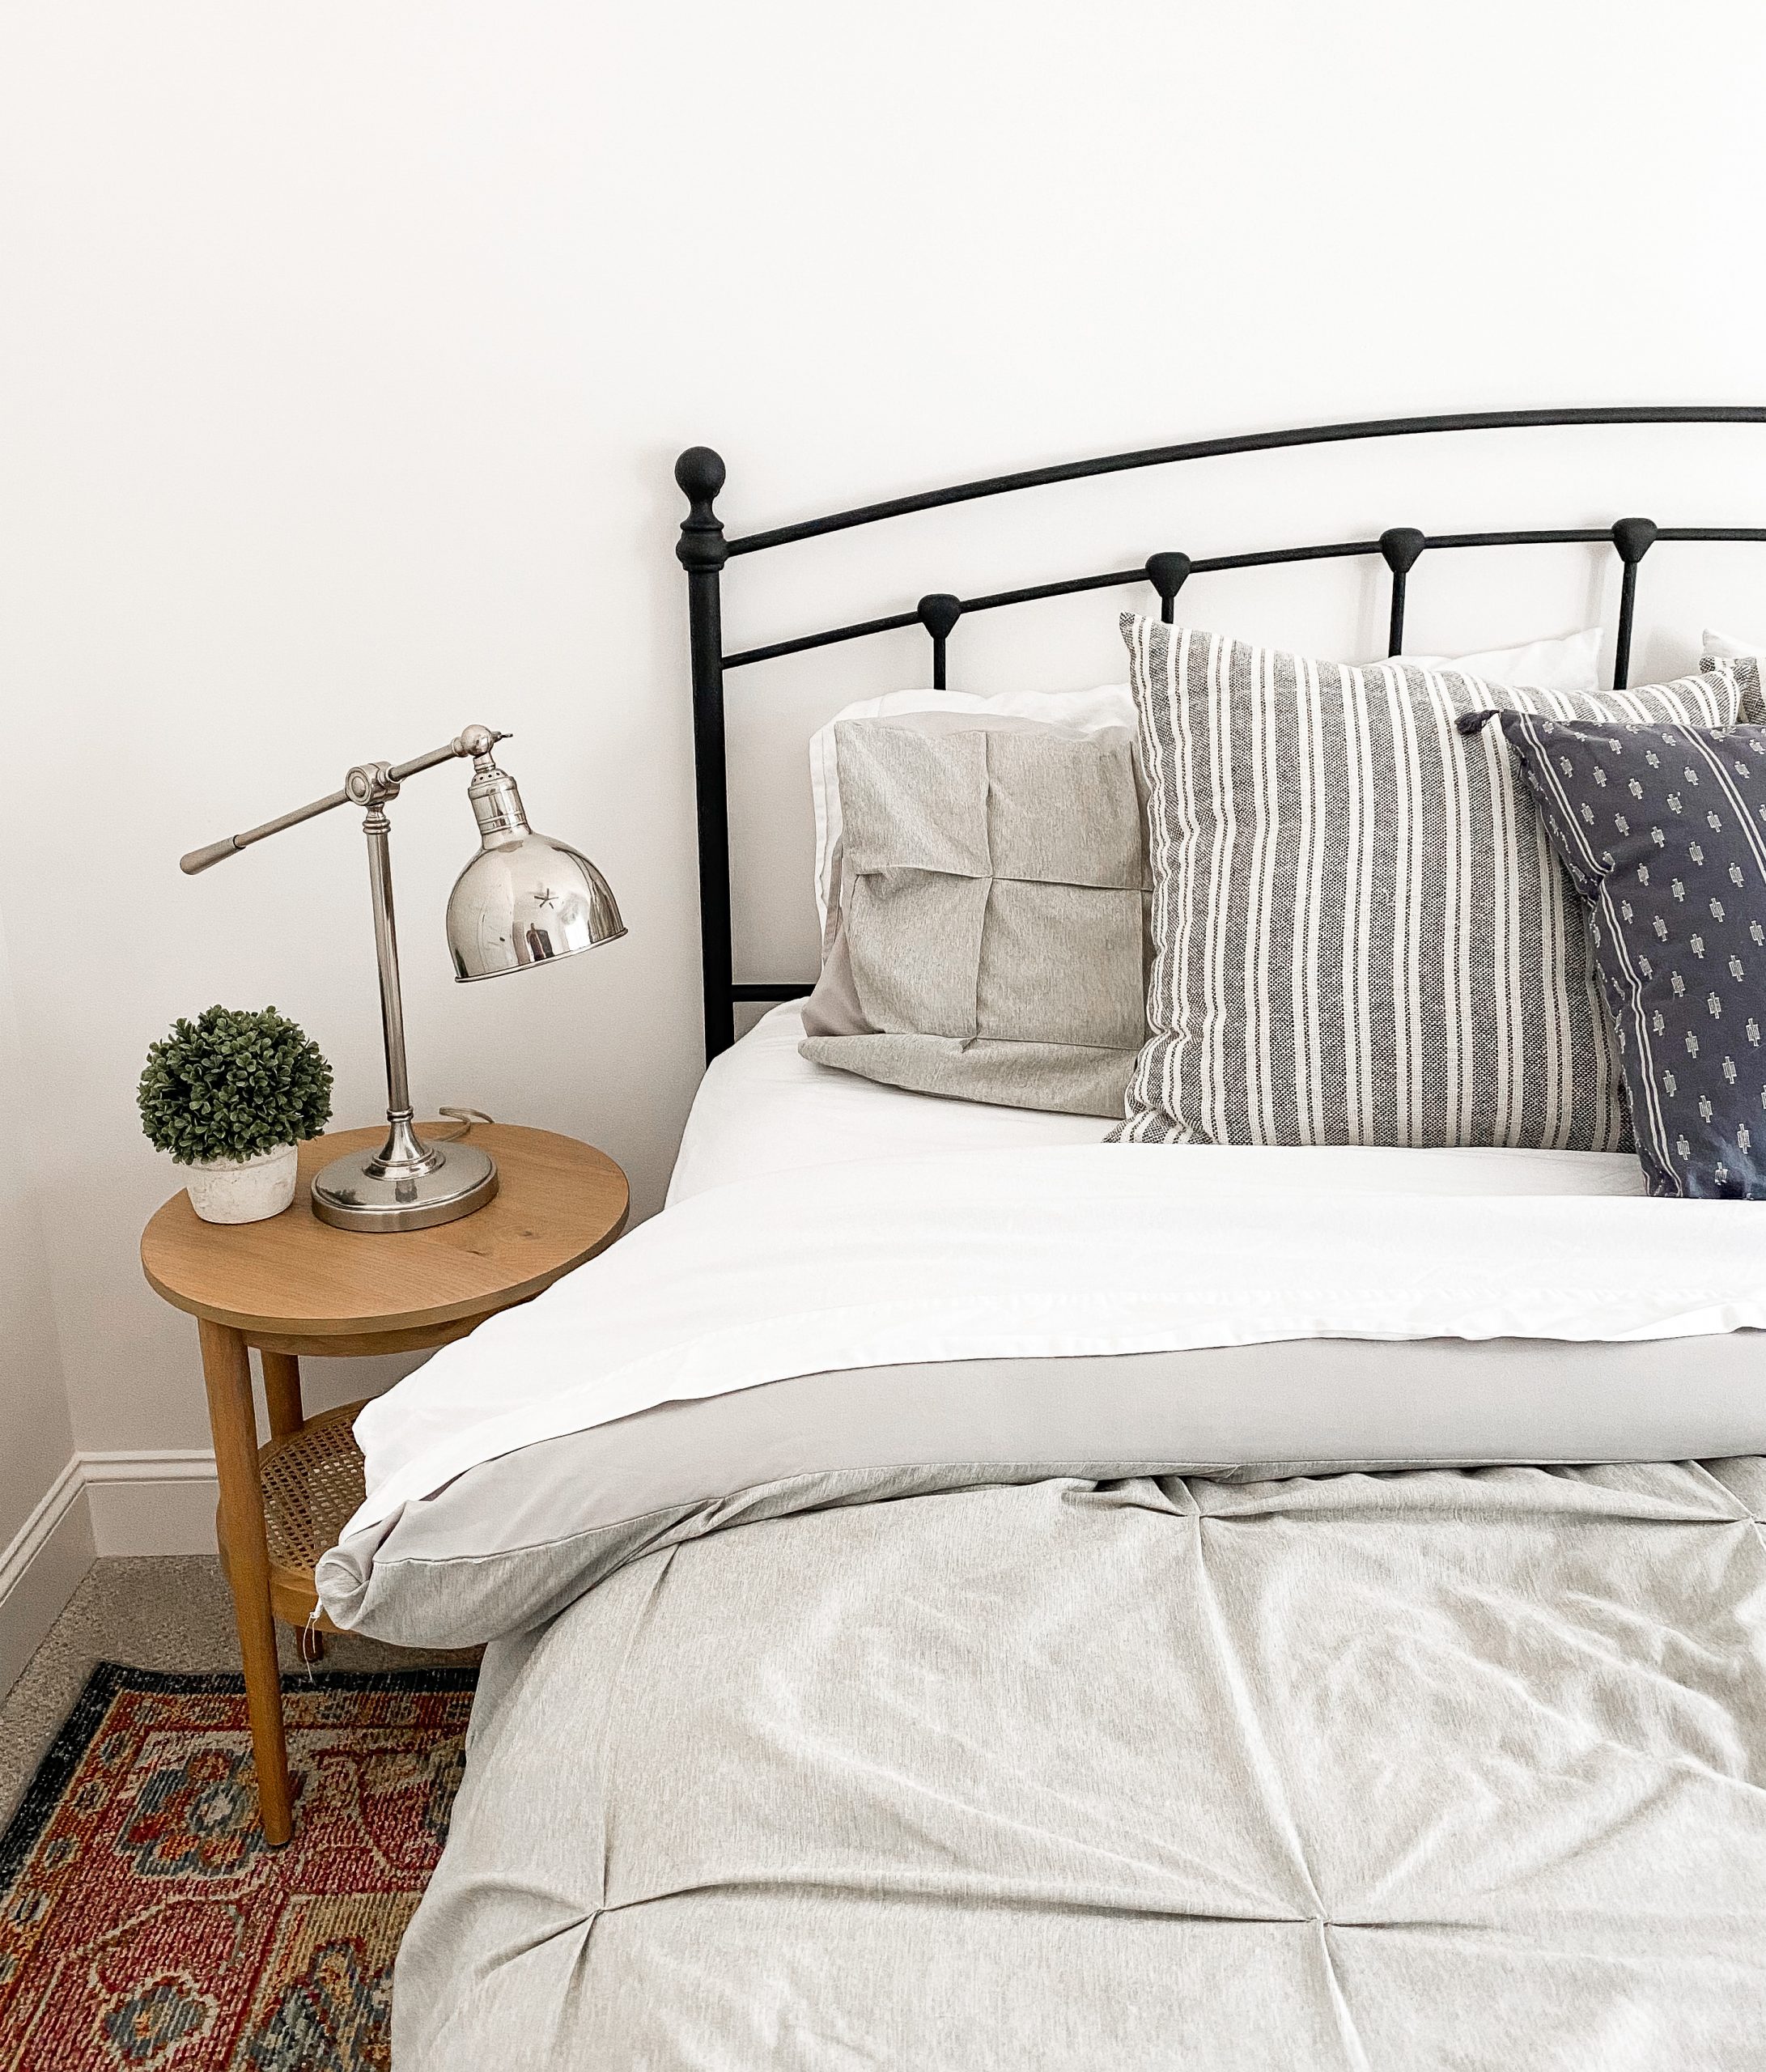
In our guest bedroom, we decided to try to use as many furnishings as we could that we had used previously in our old house. We used the same bed, the comforter, and lamps from our previous master bedroom, the rug from our previous home’s living room, and the dresser was a hand-me-down that was used as storage in our previous master closet.
I may choose to redecorate this room with updated furniture at some point in the future, but I’m happy with the way the room looks for now as well! I don’t know a ton of people who can afford to completely refurnish their entire home at once, so I’m a big believer in using what you already have to make the space work until you’re able to afford to redecorate!
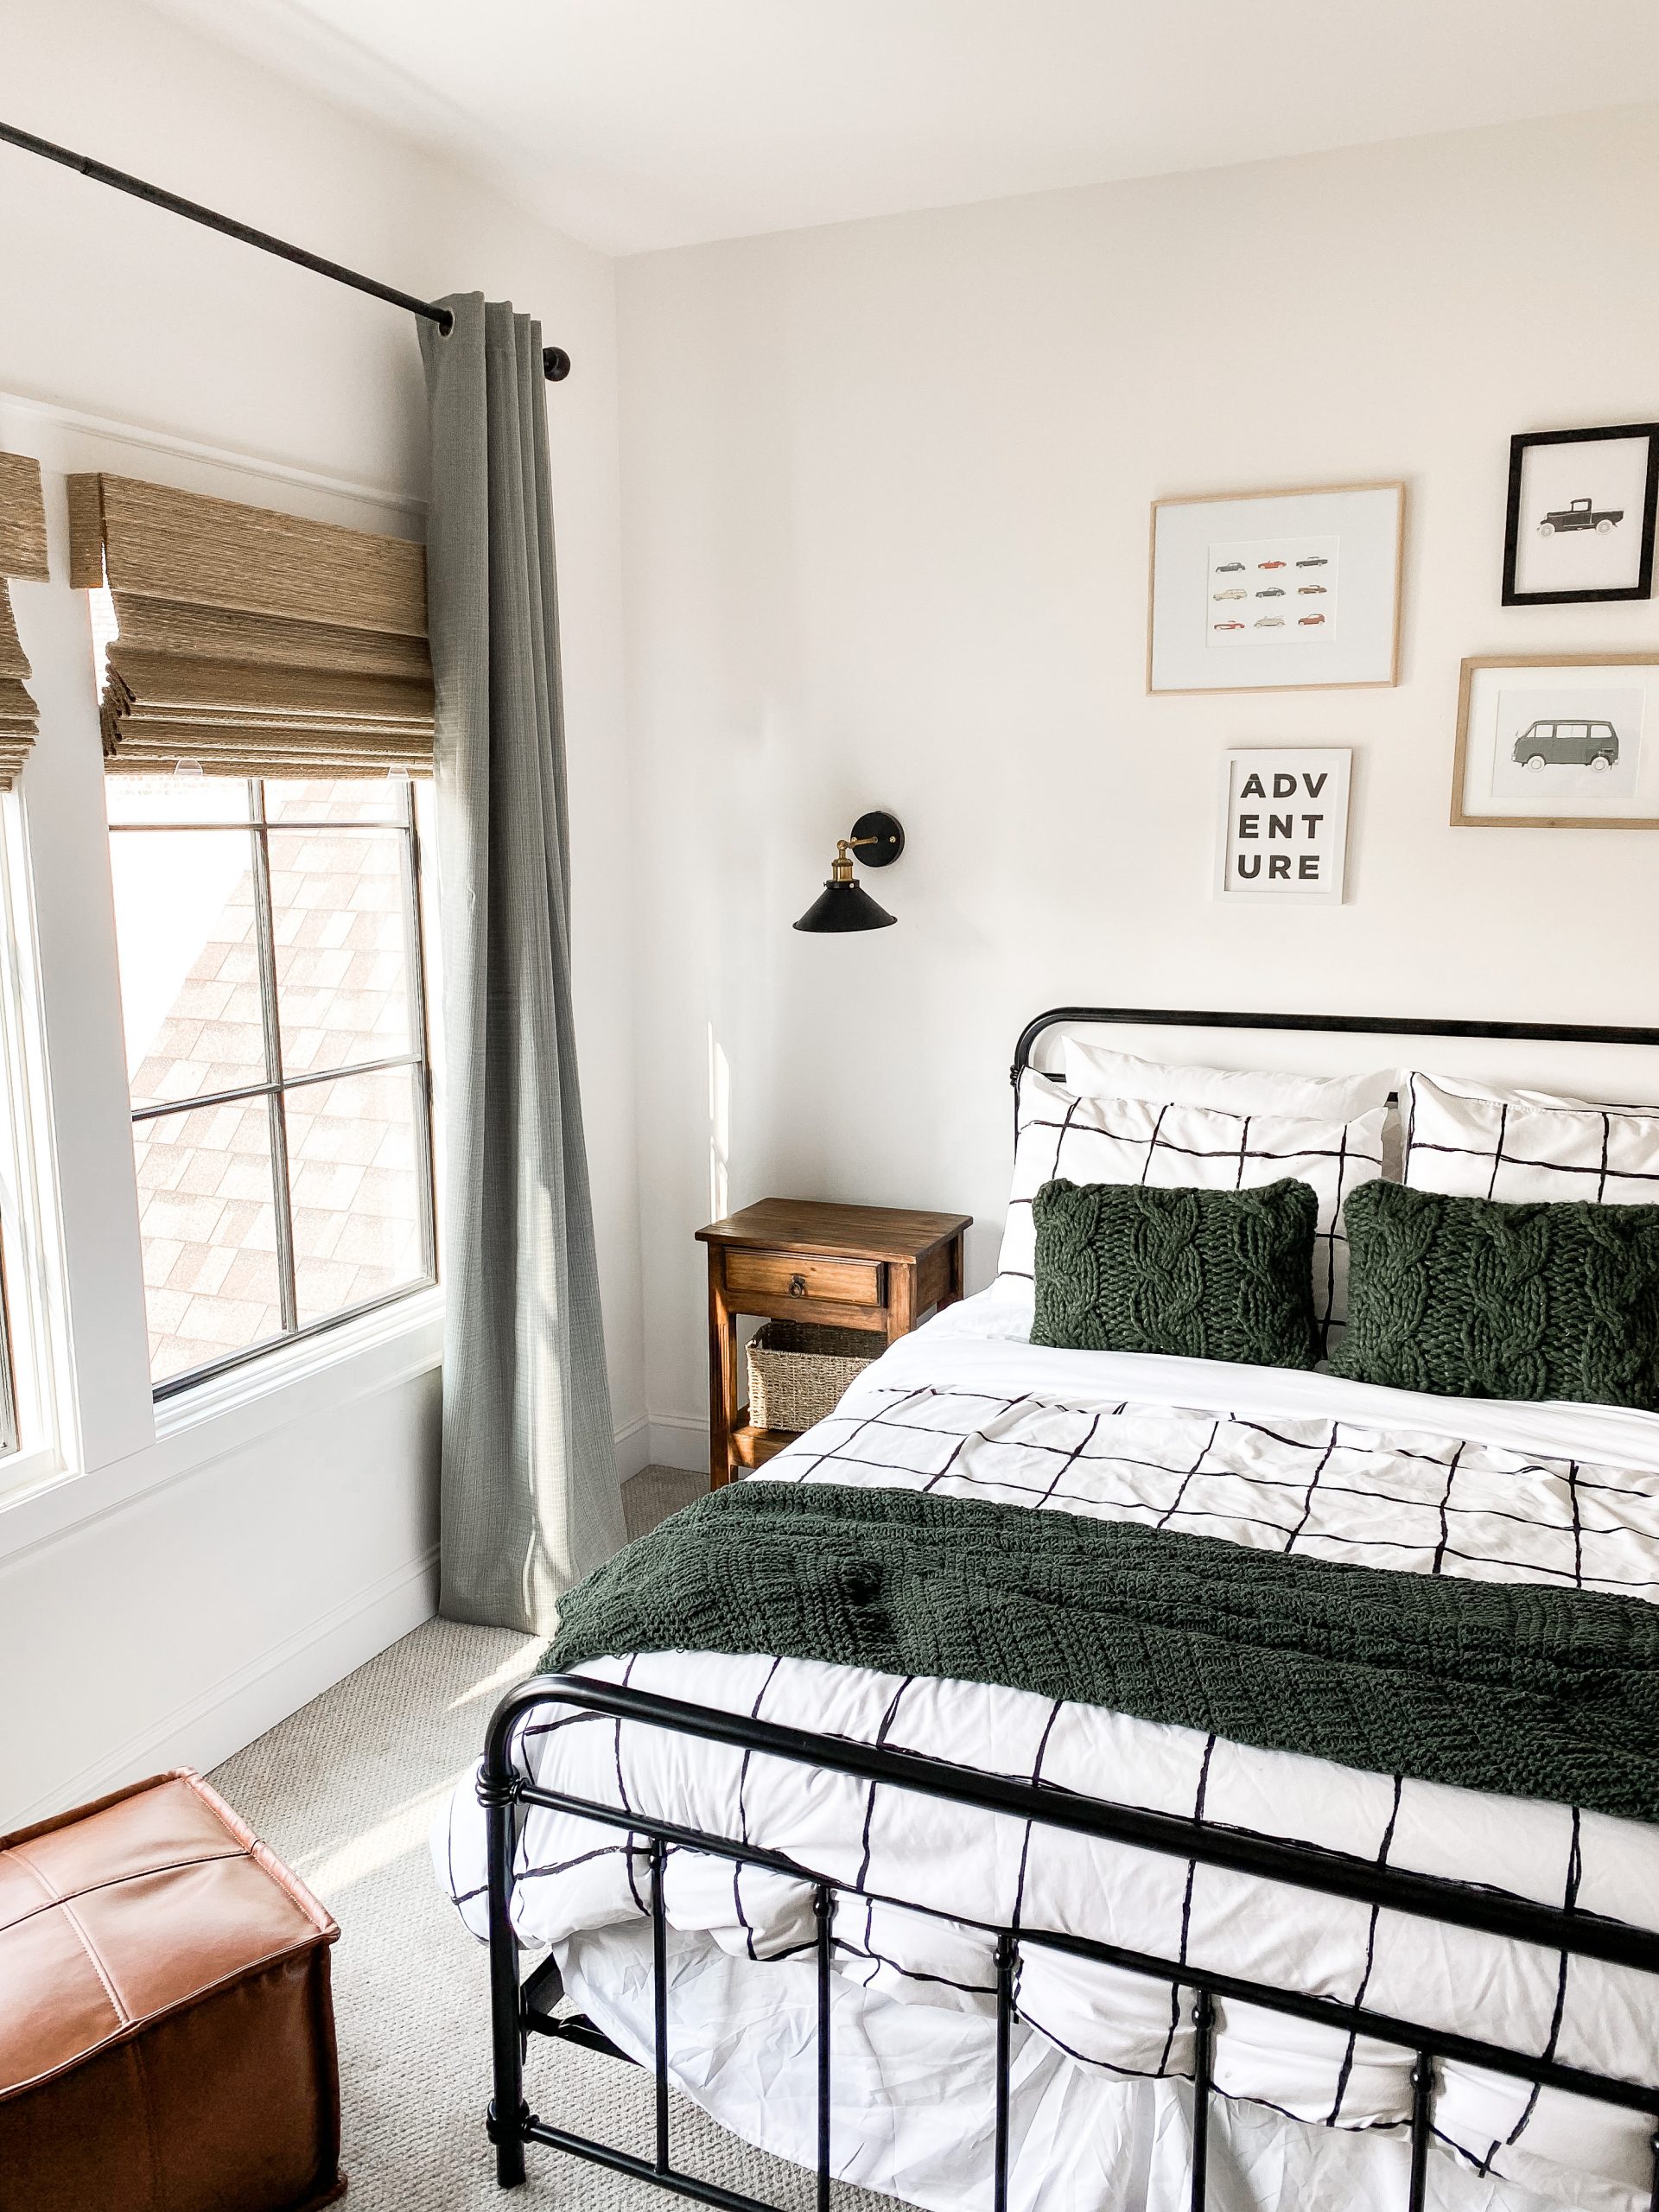
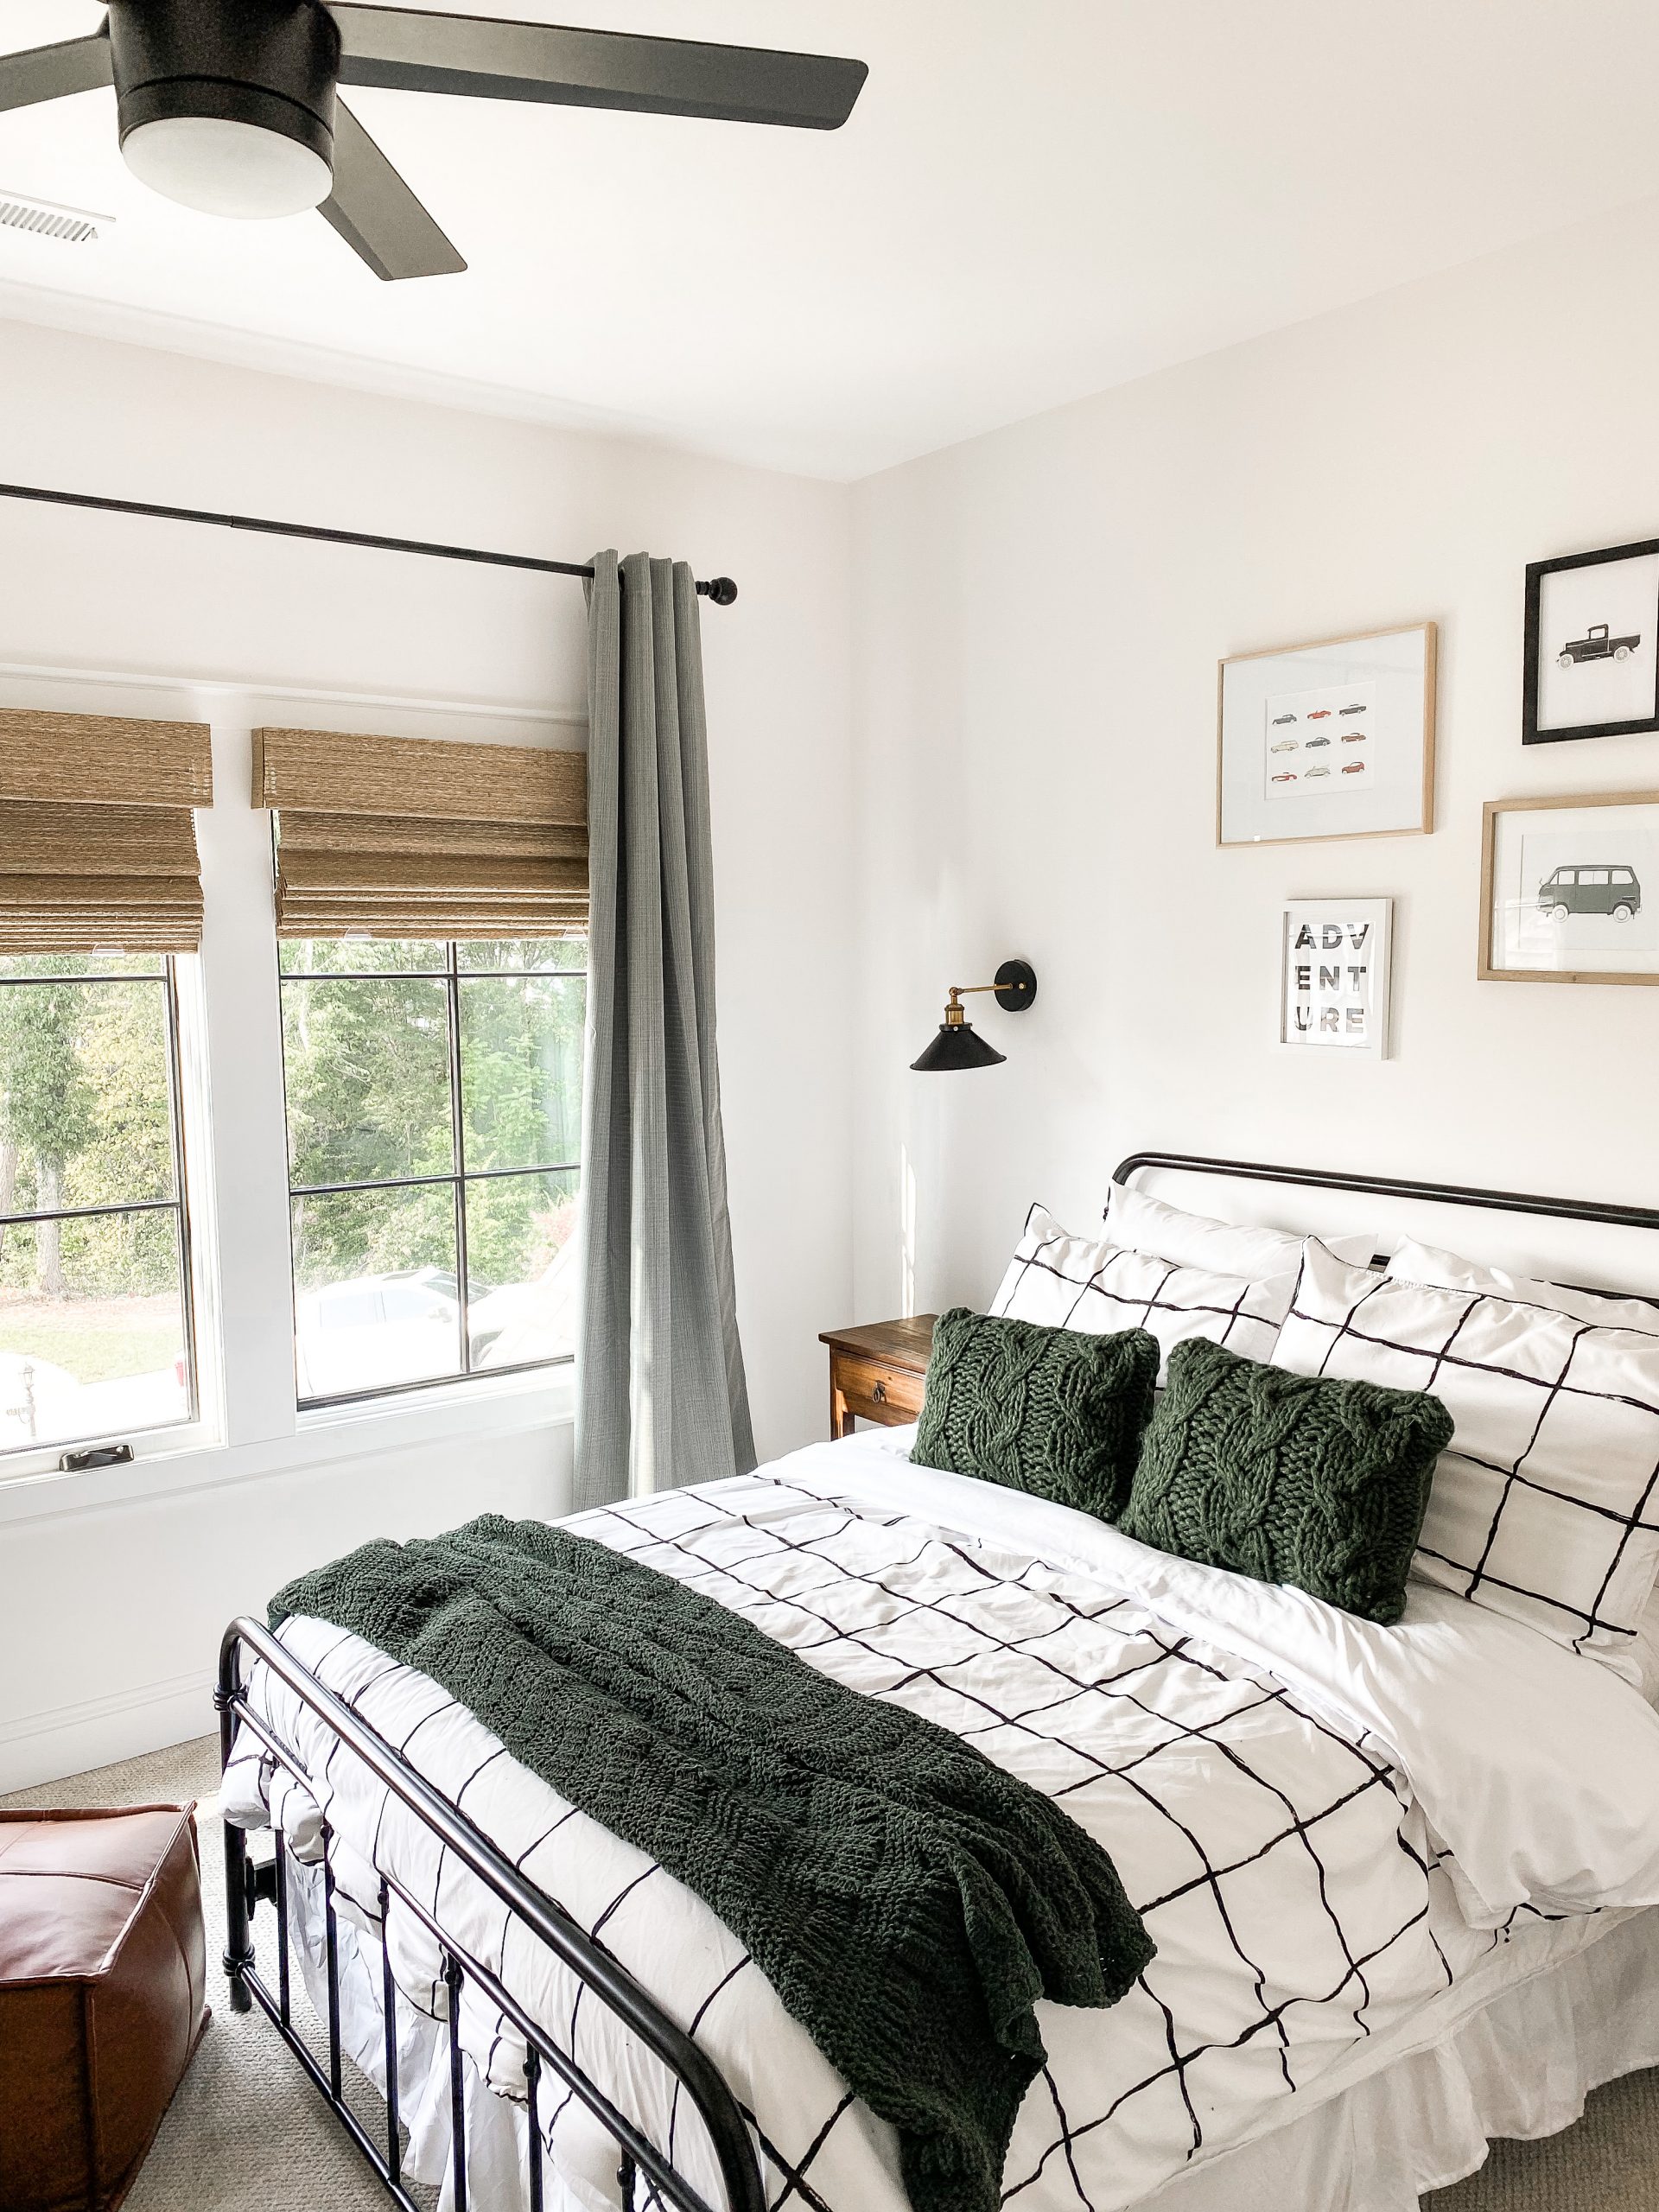
In our oldest son, Mason’s room, we also used a lot of furniture that we already owned! We already had the bed, and the nightstands were my living room end tables in college. I definitely wanted to incorporate some elements for my son so it felt like his very own special room, but still wanted the space to match the rest of the home well.
He really loves cars, so I actually created the artwork on my computer and simply printed it and put it in frames for him. The key was to add some of his character into the space but doing so in a way that would still match our home’s design!

Comments +